I still remember the first time I tried making Matcha Checkerboard Cookies – what a mess! Flour everywhere, dough sticking to my fingers, and my “checkerboard” looked more like abstract art. But oh, that first bite of buttery, slightly earthy matcha goodness made all the chaos worth it. Now, after countless batches (and a few more flour explosions), I’ve perfected these stunning cookies that look fancy but are actually simple to make.
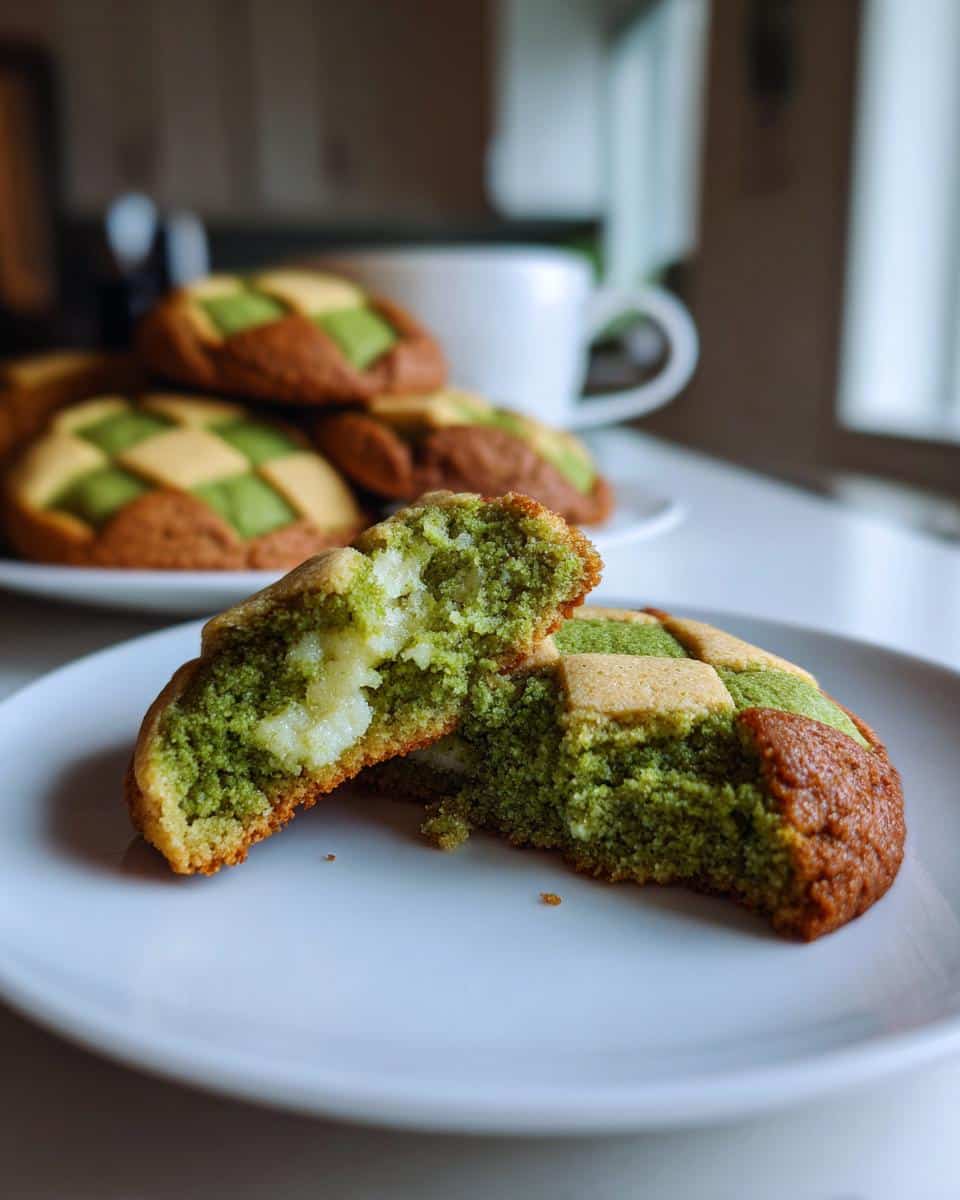
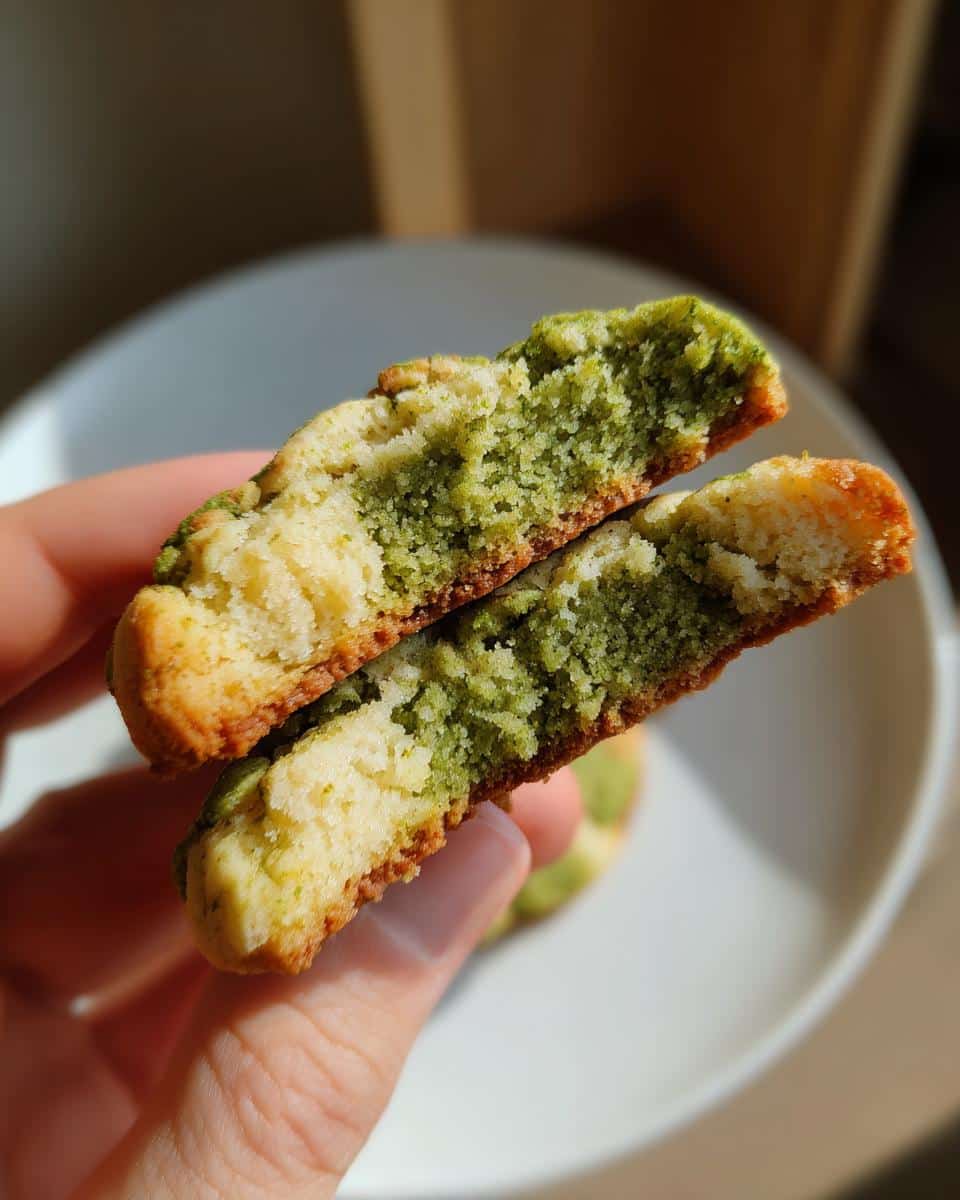
There’s something magical about slicing into that chilled dough and revealing those perfect green-and-white squares. These cookies turn heads at every tea party or cookie exchange I bring them to. The best part? That gorgeous checkerboard pattern hides a secret – it’s just two basic doughs stacked and sliced cleverly. Don’t let the fancy look fool you; with a little patience and my tips, you’ll be making bakery-worthy Matcha Checkerboard Cookies that taste even better than they look!
Table of Contents
Why You’ll Love These Matcha Checkerboard Cookies
Trust me, these aren’t just any cookies they’re little edible works of art that’ll make you feel like a baking genius! Here’s why they’ve become my go-to recipe:
- Surprisingly simple: That fancy checkerboard pattern? Just stacking and slicing – no special skills needed!
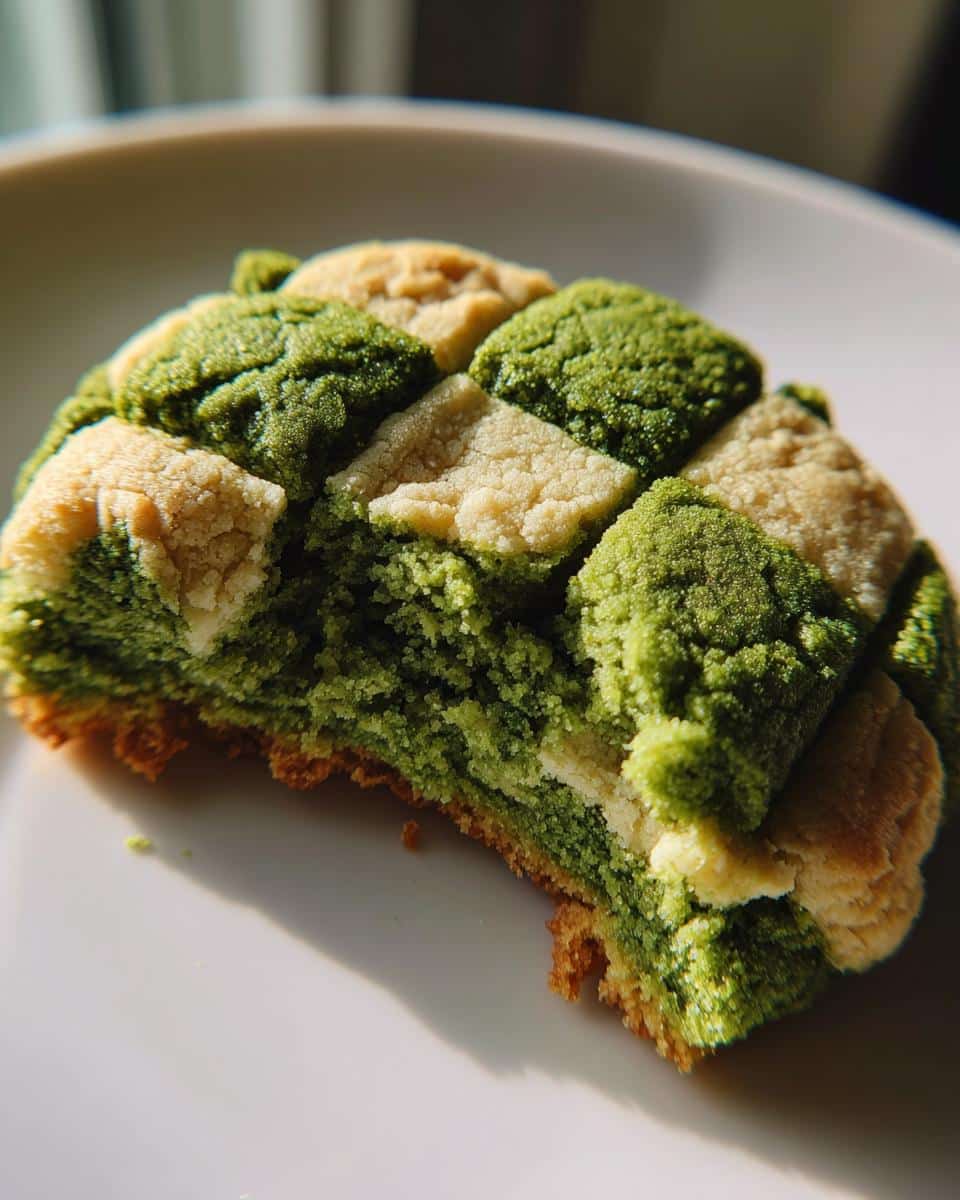
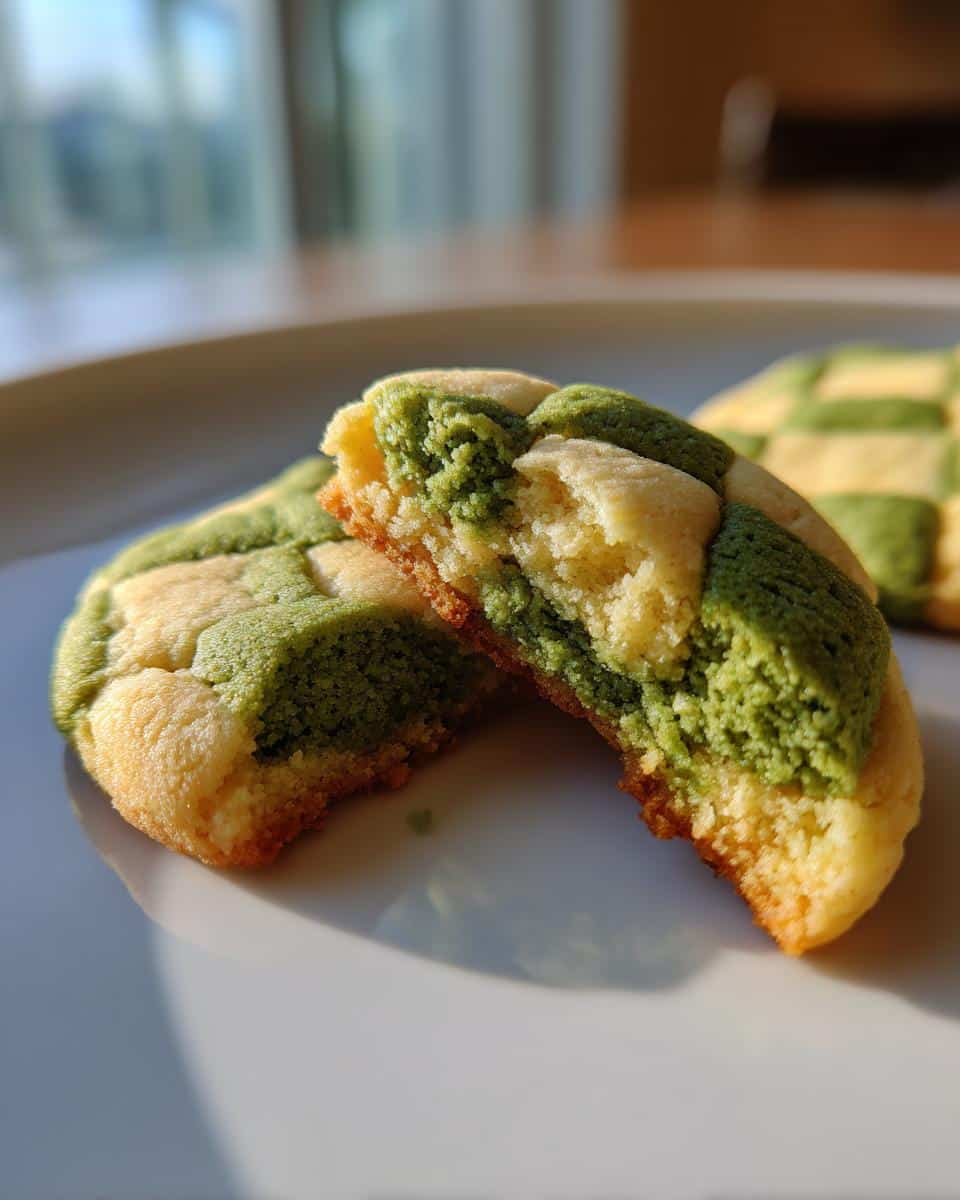
- Showstopper looks: The vibrant green against the vanilla dough makes people think you spent hours in the kitchen.
- Perfect matcha balance: Not too bitter, not too sweet – just that lovely earthy flavor shining through.
- Gift-worthy: Package them in a pretty tin, and suddenly you’re the most thoughtful friend ever.
Honestly, the hardest part is waiting for the dough to chill – but even that’s worth it when you see those perfect little squares!
Ingredients for Matcha Checkerboard Cookies
Here’s the secret to these cookies – simple ingredients, but each one matters! I’ve learned the hard way that using the right stuff makes all the difference between “okay” and “wow” cookies.
- 300g all-purpose flour – Spoon and level it, don’t scoop! Too much flour makes dry cookies.
- ½ teaspoon salt – Just enough to make all the flavors pop.
- 230g unsalted butter, softened – Not melted! It should leave a slight indent when pressed.
- 100g granulated sugar – Keeps the sweetness balanced so the matcha shines.
- 1 large egg yolk – Just the yolk gives richness without making the dough too wet.
- 1 tablespoon vanilla extract – The good stuff – it complements the matcha beautifully.
- 1 tablespoon ceremonial-grade matcha powder – Splurge on quality here – it makes the color and flavor amazing!
- 1 large egg white – Just for assembling – it’s our edible “glue” for those perfect squares.
See? Nothing weird or fancy – just good ingredients handled with care. Now let’s make some magic!
Equipment You’ll Need
No fancy gadgets required here – just a few basic tools from your kitchen that’ll make these cookies a breeze! Here’s what I always grab:
- Mixing bowls – One for dry ingredients, one for creaming butter and sugar
- Rolling pin – For getting those perfect ¼-inch thick dough sheets
- Bench scraper or ruler – My secret weapon for clean, straight edges
- Baking sheet – Parchment-lined for easy cookie release
- Sharp knife – For slicing those checkerboard blocks neatly
That’s it! You probably have most of these already – now let’s put them to work.
How to Make Matcha Checkerboard Cookies
Okay, here’s where the magic happens! Don’t let the checkerboard pattern intimidate you – it’s just stacking and stacking and slicing. Follow these steps, and you’ll have cookies that look like they came from a fancy bakery.
Step 1: Make the Dough
First, whisk together your flour and salt in a bowl – this keeps everything light and fluffy. Now, grab that softened butter (remember – not melted!) and beat it until it’s creamy and dreamy. Slowly add the sugar and keep mixing until it’s pale and fluffy – about 2 minutes should do it.
Add the egg yolk and vanilla, mixing just until combined. Here’s my trick: add the flour mixture in two batches, mixing until just combined after each. Don’t overmix! We want tender cookies, not hockey pucks.
Step 2: Divide and Color the Dough
Now comes the fun part! Divide your dough in half – I like to weigh it to be precise. Take one half and leave it plain – this will be our vanilla portion. To the other half, add that beautiful matcha powder.
Here’s how I incorporate the matcha perfectly: knead it gently with clean hands until the color is completely even. No green streaks! If the dough feels too sticky, pop it in the fridge for 10 minutes – matcha can make it a bit softer.
Step 3: Shape and Chill
Between two sheets of parchment paper, roll each dough into a rectangle about ¼-inch thick. Use that bench or ruler or ruler to neaten up the edges – straight sides make prettier checkerboards later!
Now, the hardest part – chilling! Slide both dough sheets onto a baking sheet and refrigerate for at least 1 hour. This firms up the butter so our layers stay distinct when we assemble them.
Step 4: Assemble the Checkerboard
Here’s where the checkerboard comes to life! Stack dough sheet dough sheet on top of the other (I like vanilla on bottom). Cut this stack in half lengthwise to make two tall stacks.
Brush one side of each stack with egg white – this is our edible glue! Now alternate the colors as you restack them to create the checker pattern. Press gently to adhere, then chill again for 15 minutes to set the layers.
Step 5: Slice and Bake
Preheat your oven to 350°F while the dough chills. When ready, slice your checkerboard block into ¼-inch thick cookies – a sharp knife works best here.
Arrange them on a parchment-lined baking sheet about 1 inch apart. Bake for 12-15 minutes until the edges are just barely golden. They’ll continue to firm up as they cool, so don’t overbake!
Let them cool on the baking sheet for 5 minutes before transferring to a wire rack. Try not to eat them all at once – though I won’t judge if you do!
Tips for Perfect Matcha Checkerboard Cookies
After making more checkerboard cookies than I can count, I’ve picked up some game-changing tricks that’ll save you from my early disasters! First – that ruler isn’t just for measuring. Press it along the dough edges after rolling for razor-straight sides that make perfect squares.
Chilling is non-negotiable! If the dough feels even slightly soft, give it more fridge time. Cold dough means clean layers instead of a smudgy mess. And here’s my secret: rotate your baking sheet halfway through baking. It guarantees even browning since ovens often have hot spots.
The most important tip? Have fun! Wonky squares still taste amazing with tea.
If you like these, you’ll love the festive matcha crinkle cookies. Or go for a jammy bite with matcha thumbprint cookies
Variations and Substitutions
Want to mix things up? Try folding white chocolate chips into the vanilla dough for little sweet surprises! Almond extract instead of vanilla gives a lovely marzipan twist. For gluten-free friends, swap in your favorite 1:1 flour blend – just add a touch more butter if the dough feels crumbly.
How to Store Matcha Checkerboard Cookies
Here’s the good news – these cookies stay fresh and beautiful for days! Just let them cool completely, then pop them in an airtight container with parchment between layers. They’ll keep at room temperature for up to 1 week (if they last that long!). For longer storage, freeze the baked cookies for up to 3 months – they thaw perfectly with their colors intact!
Nutritional Information
Now, I’m no nutritionist, but I do know that everything in moderation is key – especially when it comes to these irresistible cookies! The nutritional values will vary depending on your exact ingredients (like that fancy matcha you splurged on or the butter brand you prefer).
Each cookie gives you a little energy boost from the butter and sugar, with that matcha providing its wonderful antioxidants. They’re definitely a treat, not health food – but isn’t that what makes special occasion cookies so… special? Just enjoy them mindfully (or don’t – I won’t tell if you sneak an extra one with your afternoon tea!).
Remember: these numbers are estimates since every baker measures slightly differently. The important thing is savoring each delicious bite!
Share Your Matcha Checkerboard Cookies!
Okay, I need to see your checkerboard masterpieces! There’s nothing I love more than when readers share their cookie creations with me. Did your squares come out perfect? Did you accidentally make abstract art instead? (Been there!) Either way, I want to celebrate your baking adventure!
Snap a photo of your gorgeous green-and-white cookies and tag me on Instagram – I’ll feature my favorites in my stories! Or leave a review below telling me how they turned out. Did you tweak the recipe? Discover any brilliant shortcuts? Have a kitchen disaster that turned out delicious anyway? Spill the tea!
Remember – every baker’s cookies tell a story, and I can’t wait to hear yours. Now go enjoy those beautiful cookies with pride (and maybe save one for me!).
Frequently Asked Questions
I’ve gotten so many questions about these Matcha Checkerboard Cookies over the years here are the ones that pop up most often!
Can I use culinary-grade matcha instead of ceremonial?
You absolutely can, but here’s the deal – culinary matcha tends to be duller in color and stronger in flavor. I recommend using half the amount (about 1½ teaspoons) and tasting as you go. The cookies will still be delicious, just not quite as vibrantly green. If you’re making these for a special occasion though, splurge on ceremonial-grade – it makes all the difference!
Help! My dough is crumbly – what did I do wrong?
Don’t panic! This usually happens if you measured the flour by scooping instead of spooning. Try kneading in a teaspoon of cold water at a time until it comes together. If it’s still too dry, a tiny bit more softened butter (like ½ can save can save the day. Next time, go easy when mixing in the flour – stop as soon as it forms a dough.
Can I freeze the dough before baking?
Yes, and it’s a great time-saver! After assembling the checkerboard blocks, wrap them tightly in plastic wrap and freeze for up to 3 months. When ready to bake, let them thaw slightly in the fridge for about 30 minutes before slicing – this prevents crumbling. You can even freeze the sliced cookies raw and bake straight from frozen, adding 1-2 extra minutes to the baking time.
Why do my layers separate when baking?
This breaks my heart when it happens! The culprit is usually not enough egg white “glue” between layers or dough that wasn’t chilled enough. Next time, be that egg that egg wash and make sure your dough is fridge-cold before slicing. Pressing the layers firmly together before the final chill helps too!
Matcha Checkerboard Cookies
- Total Time: 1 hour 45 minutes
- Yield: 24 cookies 1x
- Diet: Vegetarian
Description
These soft and buttery Matcha Checkerboard Cookies are as beautiful as they are delicious! With a striking green and vanilla checkerboard pattern, they’re perfect for tea time, holidays, or as a unique homemade gift.
Ingredients
- 300g all-purpose flour
- ½ teaspoon salt
- 230g unsalted butter, softened
- 100g granulated sugar
- 1 large egg yolk
- 1 tablespoon vanilla extract
- 1 tablespoon ceremonial-grade matcha powder
- 1 large egg white (for assembling)
Instructions
- Make the Dough: Whisk flour and salt. Beat butter until creamy, add sugar, egg yolk, and vanilla. Mix in flour until just combined.
- Divide and Flavor the Dough: Split dough in half. Mix one half plain, the other with matcha powder.
- Shape and Chill the Dough: Roll each dough into ¼-inch thick rectangles. Chill for 1 hour.
- Stack and Layer: Stack dough sheets, cut in half, brush with egg white, and alternate colors. Chill for 15 minutes.
- Cut and Build the Checkerboard: Cut into strips, assemble into checkerboard blocks, and chill for 15 minutes.
- Slice and Bake: Preheat oven to 350°F. Slice blocks into cookies and bake for 12–15 minutes.
- Cool and Serve: Let cool on the baking sheet for 5 minutes, then transfer to a wire rack.
Notes
- Use a bench scraper or ruler for straight edges.
- Chill dough thoroughly between steps for clean layers.
- Store cookies in an airtight container for up to 1 week.
- Prep Time: 1 hour 30 minutes
- Cook Time: 15 minutes
- Category: Dessert
- Method: Baking
- Cuisine: Japanese-inspired
Nutrition
- Serving Size: 1 cookie
- Calories: 120
- Sugar: 5g
- Sodium: 30mg
- Fat: 7g
- Saturated Fat: 4g
- Unsaturated Fat: 2g
- Trans Fat: 0g
- Carbohydrates: 12g
- Fiber: 0.5g
- Protein: 1.5g
- Cholesterol: 25mg
Keywords: matcha, cookies, checkerboard, dessert, baking


