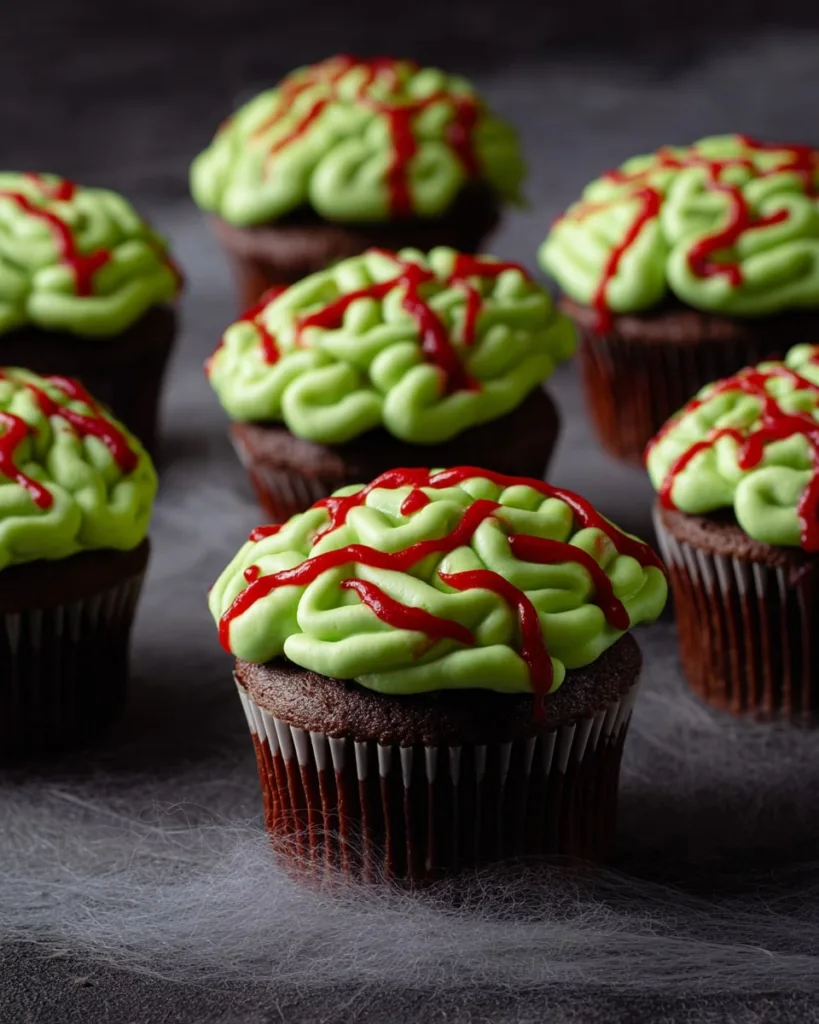
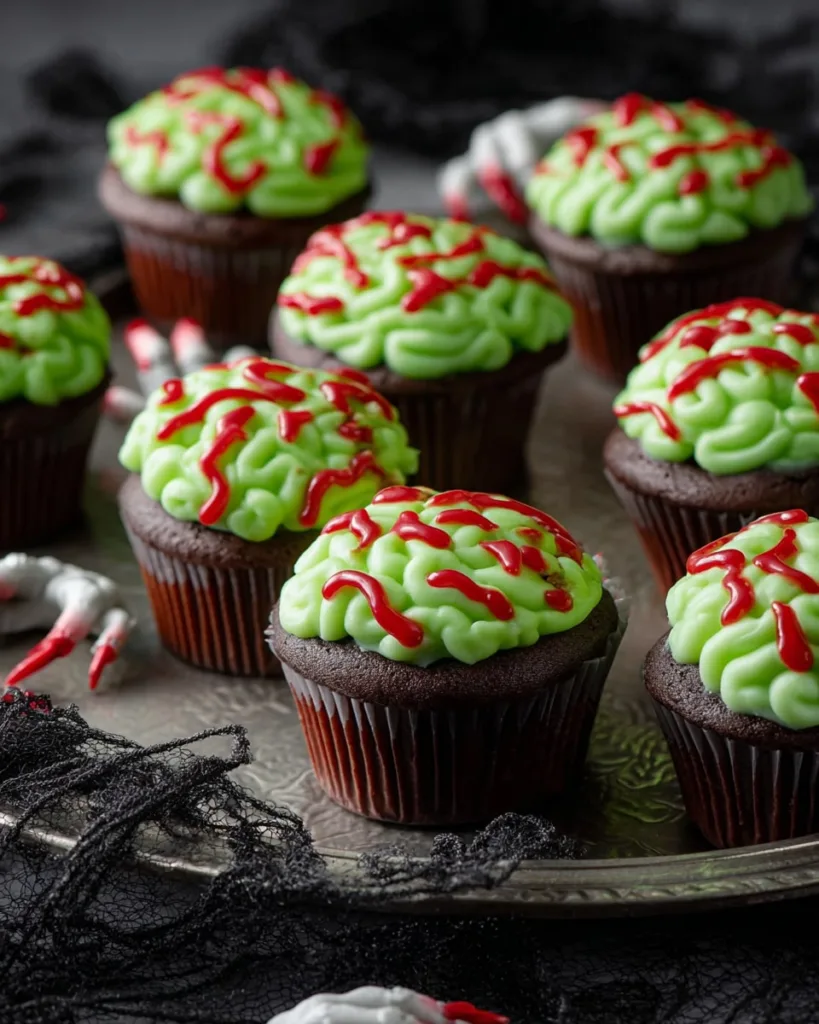
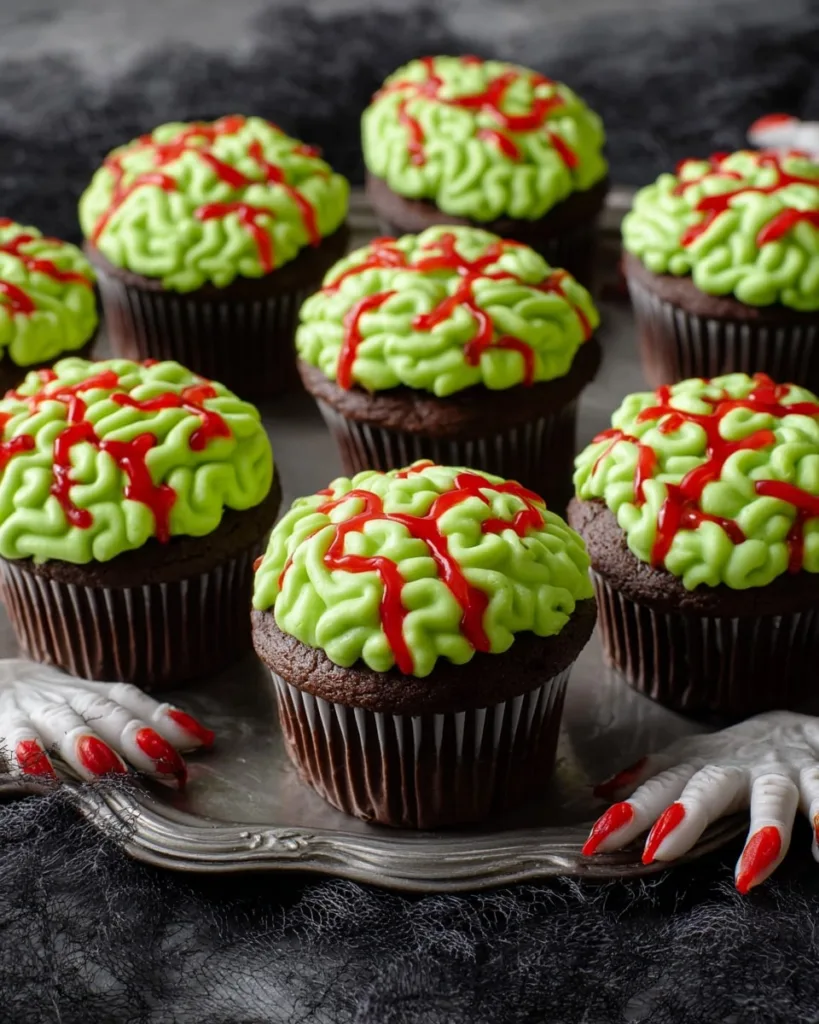
Ever wanted to freak out your friends with the most deliciously creepy dessert? These zombie brain cupcakes are my go-to for Halloween, rich chocolate cupcakes topped with neon green frosting shaped like brains and drizzled with “blood.” They look terrifying, but trust me, they disappear fast at parties!
I first made these when my nephew begged for “something gross but yummy” for his Halloween bash. The second I piped that first brain shape and saw his eyes light up, I knew we had a winner. Now it’s our annual tradition. I bake a double batch because half get eaten before they even make it to the table!
The secret? Super moist chocolate cupcakes (thank you, boiling water trick!) and buttercream that holds its shape perfectly for piping those creepy brain wrinkles. And that blood-red gel? Just wait for the gasps when you bring these out.
Pro tip: Make extras, even grown-ups turn into giggling kids when they see these spooky treats.
Table of Contents
Why You’ll Love These Zombie Brain Cupcakes
These aren’t just any Halloween cupcakes, they’re the kind that’ll have your guests snapping photos before they dare take a bite! Here’s why they’re a must-make:
- Spooky but simple: The brain design looks impressive, but it’s just squiggles with a piping bag, no fancy skills needed. (My first attempt looked more like alien blobs, but hey, zombies aren’t perfect!)
- Chocolate that doesn’t quit: The cupcake base is insanely moist thanks to that sneaky splash of boiling water in the batter. Even picky eaters will come back for seconds.
- Instant party hit: Kids adore the gory red “blood,” while adults appreciate the rich buttercream. Watch them all crack up as they pretend to eat actual brains!
- Make-ahead magic: Frosted cupcakes keep beautifully in the fridge overnight, just add the gel “blood” before serving for maximum drama.
Seriously, these disappear faster than a zombie at sunrise. You’ve been warned!
Ingredients for Zombie Brain Cupcakes
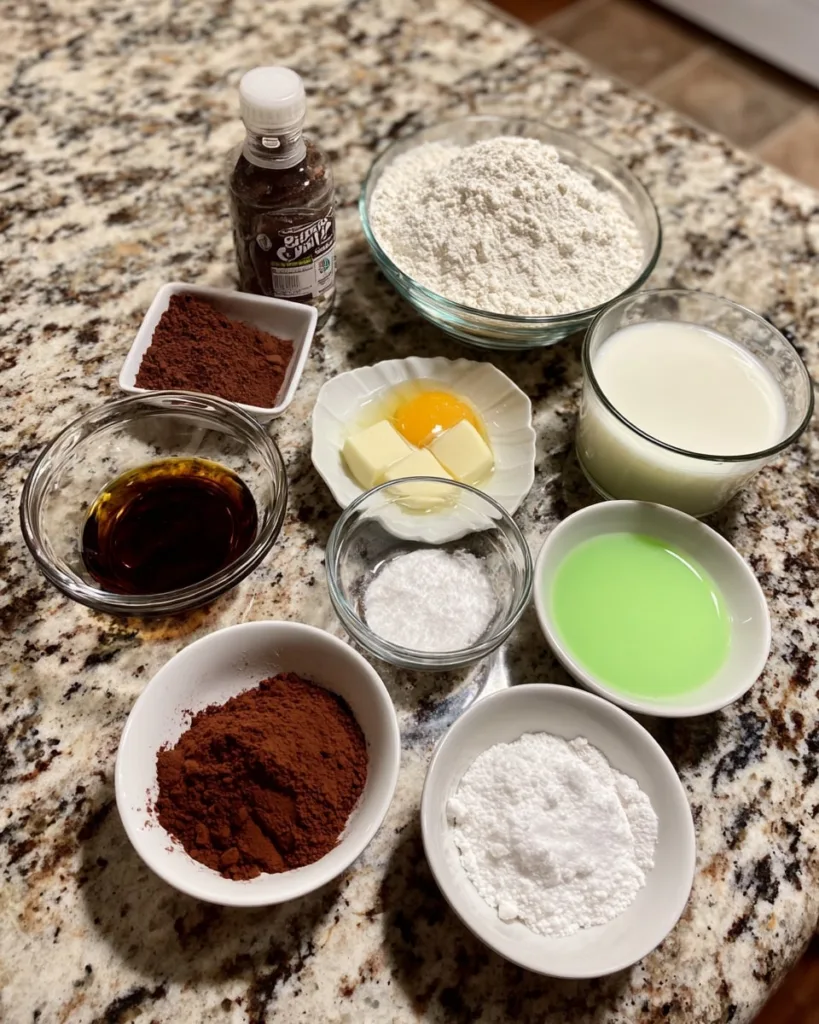
Here’s everything you’ll need to create these gloriously gruesome treats. Trust me, using the right ingredients makes all the difference between “meh” and “BRAINS!”-worthy cupcakes:
- For the cupcakes:
- 1 1/4 cups all-purpose flour (150 g) – spooned and leveled, please! No packed flour here
- 1 cup granulated sugar (200 g) – regular white sugar works best for that perfect crumb
- 1/2 cup unsweetened cocoa powder (40 g) – I like Dutch-processed for extra richness
- 1 teaspoon baking powder – make sure it’s fresh for good rise
- 1/2 teaspoon baking soda – not baking powder, they’re different!
- 1/2 teaspoon kosher salt – if using table salt, use 1/4 tsp instead
- 1/2 cup buttermilk (120 ml) – whole milk works in a pinch, but buttermilk’s tang is magic
- 1/4 cup neutral oil – vegetable or canola, nothing strongly flavored
- 1 large egg – beaten first for even mixing
- 1/2 teaspoon pure vanilla extract – the good stuff, not imitation
- 1/4 cup boiling water – yes, boiling! This is the secret to ultra-moist cupcakes
- For the zombie brains:
- 4 cups powdered sugar (455 g) – sifted, unless you want lumpy frosting
- 1 1/2 cups unsalted butter (3 sticks) – room temp, soft but not melted
- 1 teaspoon pure vanilla extract
- 1/4 teaspoon kosher salt – balances the sweetness
- 2-3 drops neon green food coloring – more if you want brighter brains!
- Red decorating gel – for that perfect “fresh kill” look
See those butter and egg notes? Room temperature matters – cold butter won’t cream properly, and cold eggs can make your batter separate. Been there, had lumpy cupcakes, zero stars do not recommend!
Equipment Needed
You probably have most of this already, but let’s double-check:
- 12-cup muffin tin
- Cupcake liners (go for black or orange for extra Halloween flair!)
- Electric mixer (stand or hand-held)
- Piping bag with small round tip (#3 works great)
- Mixing bowls and measuring cups
- Spatula (for scraping every last bit of batter)
That’s it! No fancy gadgets required – just good old-fashioned baking tools.
How to Make Zombie Brain Cupcakes
Okay, let’s get creepy! These zombie brain cupcakes come together in easy stages – bake, frost, and the fun part: piping those deliciously disgusting brains. Follow these steps and you’ll have show-stopping Halloween treats that taste as good as they look!
Prepare the Chocolate Cupcake Batter
First things first – preheat that oven to 350°F and line your muffin tin. Now, the secret weapon: whisk all your dry ingredients together first (flour, sugar, cocoa powder, baking powder, baking soda, and salt). I sift mine right into the bowl to avoid lumps. In another bowl, mix the wet ingredients – buttermilk, oil, egg, and vanilla. Pour the wet into the dry and mix just until combined. Here comes the magic: slowly stir in that boiling water (careful, it’s hot!). The batter will be thin – that’s perfect! Don’t overmix or your cupcakes will be tough instead of tender.
Bake and Cool the Cupcakes
Fill each cupcake liner about two-thirds full – I use a 1/4 cup measure to keep them even. Bake for 18-20 minutes until a toothpick comes out clean. Now the hard part: let them cool completely! I know it’s tempting, but if you frost warm cupcakes, you’ll get melty zombie brains (which, okay, might be extra creepy but not what we’re going for). Give them a full hour – perfect time to make the frosting!
Make the Green Frosting
Beat that room-temperature butter first until it’s creamy – about 2 minutes. Gradually add the powdered sugar, vanilla, and salt. Keep mixing until it’s super smooth and fluffy. Now for the fun: add that neon green food coloring drop by drop until you get that perfect radioactive zombie hue. If the frosting’s too thick, add a teaspoon of milk; too thin, a bit more powdered sugar. You want it stiff enough to hold those brainy ridges!
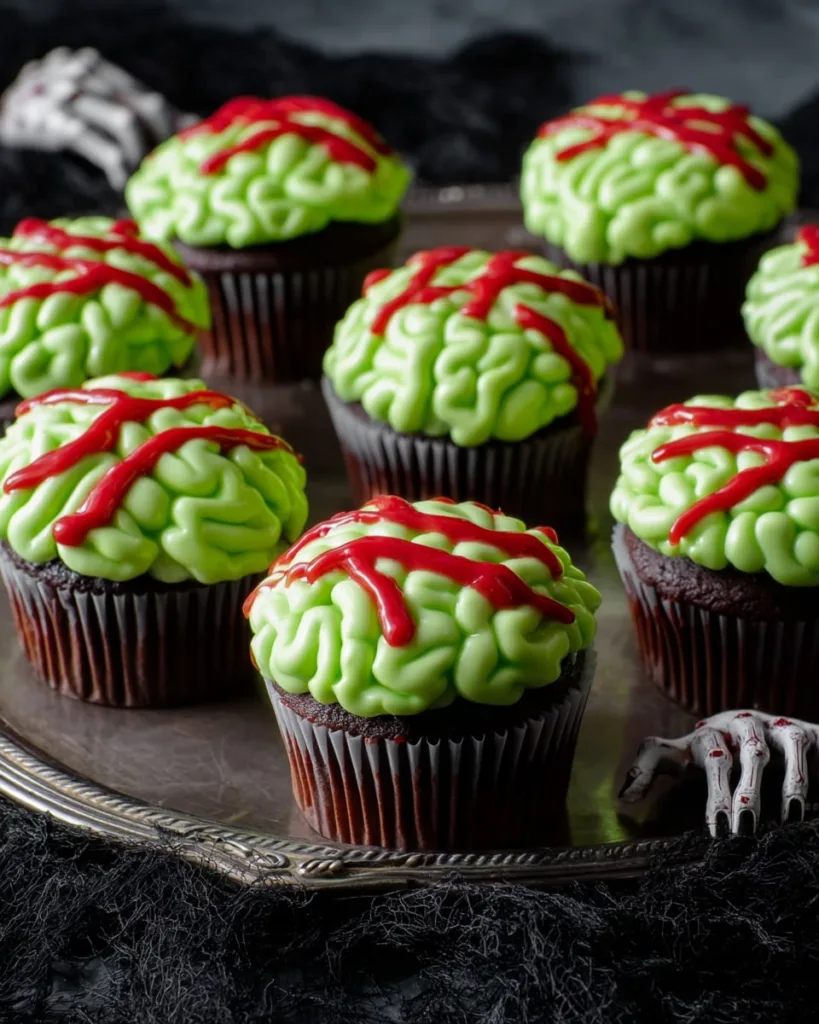
Pipe the Zombie Brain Design
Here’s where the magic happens! Fill your piping bag with the green frosting (I use a coupler with a #3 round tip). Pipe a small mound in the center of each cupcake. Then, pipe two straight lines down the middle – this is your brain’s “hemispheres.” Now the fun part: make squiggly lines on each side to create those signature brain wrinkles. Don’t overthink it – uneven is better for that authentic zombie look! Finally, take your red gel and drizzle it into the creases. Use a toothpick to spread it slightly if needed. Voila – edible brains that’ll have everyone screaming… for seconds!
Tips for Perfect Zombie Brain Cupcakes
After making these creepy cupcakes for years (and learning from some hilarious disasters), here are my can’t-miss tips for zombie brain perfection:
- Go bold with the green: That neon food coloring fades slightly as it sits. I always add an extra drop or two – you want those brains to glow like they’re radioactive!
- Frosting consistency is key: Too soft? Your brain wrinkles will slump. Too stiff? Your hand will cramp from piping. Aim for a texture that holds its shape when you make a peak with your spatula.
- Gel control matters: That red “blood” gel can be messy. Squeeze from high up for thin drips, or go low and slow for dramatic pooling.
Pro tip: do a test drizzle on a plate first. - Chill before serving: 30 minutes in the fridge sets the frosting so the brains stay perfectly wrinkled when bitten into.
- Embrace imperfections: Lopsided brains? Uneven wrinkles? That just makes them more authentically zombie-like! My first batch looked like melted aliens, and the kids still devoured them.
Remember – if your cupcakes taste amazing (and these do), no one will care if your brain piping isn’t bakery-perfect. The messier, the spookier!
Variations and Substitutions
Got dietary restrictions or just want to mix things up? These zombie brain cupcakes are super flexible! Here are my favorite twists:
- Gluten-free: Swap the all-purpose flour 1:1 with your favorite gluten-free blend. I like ones with xanthan gum already added – helps hold everything together.
- Dairy-free: Use coconut oil instead of butter in the frosting, and almond milk with a squeeze of lemon as buttermilk substitute. The cupcakes will still be deliciously moist!
- Natural colors: Not into food dyes? Try blending spinach or matcha powder into the frosting for green, and raspberry jam thinned with water for the “blood.”
(Pro tip: these taste better but won’t be as vibrant.) - Flavor twists: Add 1/2 tsp peppermint extract to the frosting for “zombie mint brains,” or mix orange zest into the cupcake batter for a citrus kick.
See? No need to sacrifice spookiness for special diets. Brains for everyone!
Serving and Storage
These zombie brain cupcakes taste best when served slightly chilled – the coolness makes the frosting firm up perfectly for that satisfying brain-biting experience! I always pop them in the fridge for at least 30 minutes before serving. Store any leftovers (ha!) in an airtight container in the fridge for up to 3 days. The cupcakes might lose a bit of their “fresh kill” look after day 2, but they’ll still taste delicious – if slightly less terrifying!
Nutritional Information
Okay, let’s be real – nobody eats zombie brains for their health benefits! But since you asked, here’s the scoop: each creepy cupcake packs about 310 calories, with that glorious buttercream frosting doing most of the heavy lifting. Values can vary based on your exact ingredients (I won’t judge if you go heavy on the red gel!). These are treats through and through – perfect for Halloween indulgence!
FAQs About Zombie Brain Cupcakes
Can I make zombie brain cupcakes ahead of time?
Absolutely! The cupcakes bake beautifully a day in advance – just store them unfrosted at room temperature in an airtight container. The frosting can be made up to 3 days ahead and kept in the fridge (let it come to room temp and re-whip before piping). Wait until the day you’re serving to add the red gel “blood” for maximum freshness and drama!
Help! My frosting is too runny – how do I fix it?
No zombie panic needed! If your buttercream looks more like soup than brains, chill it for 15 minutes, then beat in more powdered sugar (about 1/4 cup at a time) until it holds its shape. The opposite problem? Stiff frosting that won’t pipe? Add milk, 1 teaspoon at a time, until it’s smooth but still holds peaks.
What’s the easiest way to pipe the brain design?
Start simple – pipe two straight lines down the center, then make wavy “S” shapes outward from each side. Don’t stress about perfection! Some of my best-looking brains happened when I stopped overthinking and just let the piping bag flow.
Pro tip: Practice on parchment paper first if you’re nervous.
Can kids help decorate these?
Oh heck yes! The brain piping is actually perfect for little hands – the messier, the better! I give kids their own piping bag (or ziplock with a corner snipped off) and let them go wild with the squiggles. They adore squeezing the red “blood” gel too – just supervise closely unless you want your kitchen to look like a crime scene!
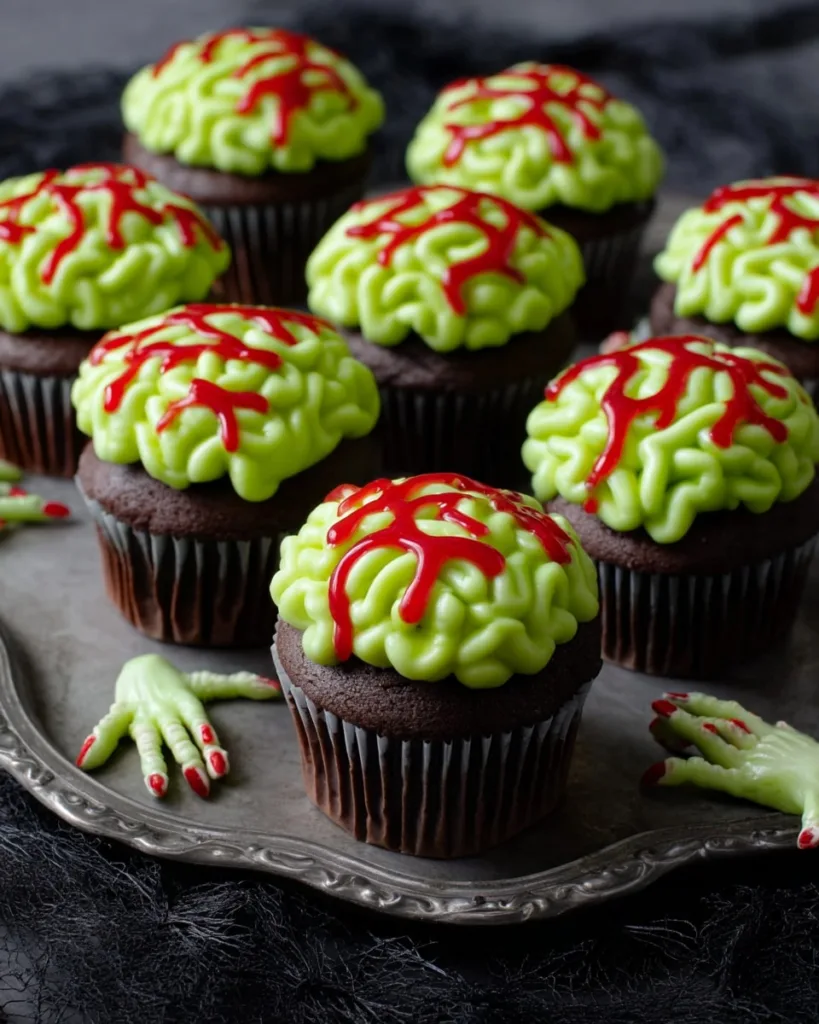
Why These Zombie Brain Cupcakes Are the Best
These Zombie Brain Cupcakes are the ultimate mix of spooky and fun, perfect for Halloween parties, trick-or-treat gatherings, or a creepy movie night. With moist cupcakes, gooey “bloody” filling, and brain-like frosting on top, they’re as delicious as they are frightfully realistic. Plus, they’re simple enough for home bakers to make yet impressive enough to wow a crowd.
If you’re looking for a Halloween dessert that’s guaranteed to be a conversation starter, this recipe is it. Give these cupcakes a try, then share your creations in the comments below. And don’t forget to follow along on Facebook, Instagram, and Pinterest for even more hauntingly good recipes and spooky ideas.
More Halloween Recipes You’ll Love
Complete your Halloween spread with these festive recipes that are just as fun and eerie as your Zombie Brain Cupcakes. Each one is easy to make and perfect for entertaining:
These spooky treats will keep your guests delighted and your Halloween table looking extra festive.
Print
Zombie Brain Cupcakes
- Total Time: 2 hours
- Yield: 12 cupcakes 1x
- Diet: Vegetarian
Description
These Zombie Brain Cupcakes are perfect for Halloween parties. Moist chocolate cupcakes are topped with green “brains” and drizzled with red gel for a creepy finish.
Ingredients
- 1 1/4 cups all-purpose flour (150 g)
- 1 cup granulated sugar (200 g)
- 1/2 cup unsweetened cocoa powder (40 g)
- 1 teaspoon baking powder
- 1/2 teaspoon baking soda
- 1/2 teaspoon kosher salt
- 1/2 cup buttermilk or whole milk (120 ml)
- 1/4 cup neutral oil
- 1 large egg, beaten
- 1/2 teaspoon pure vanilla extract
- 1/4 cup boiling water
- 4 cups powdered sugar, sifted (455 g)
- 1 1/2 cups unsalted butter, room temperature (3 sticks)
- 1 teaspoon pure vanilla extract
- 1/4 teaspoon kosher salt
- 2 to 3 drops neon green liquid food coloring, or more as needed
- Red decorating gel for drizzling
Instructions
- Preheat oven to 350°F. Line a 12-cup muffin tin with paper liners.
- In a large bowl, whisk together flour, sugar, cocoa powder, baking powder, baking soda, and salt.
- Add buttermilk, oil, egg, and vanilla. Whisk until smooth. Stir in boiling water until fully combined.
- Fill each cupcake liner about two-thirds full, using about 1/4 cup of batter for each.
- Bake for 18 to 20 minutes, until a toothpick comes out clean. Let cool completely, about 1 hour.
- In a stand mixer or large bowl with an electric mixer, beat powdered sugar, butter, vanilla, and salt until bright white and very smooth, about 2 to 3 minutes.
- Add green food coloring until you get a bold “zombie” green color. Transfer frosting to a piping bag fitted with a small round tip.
- Pipe a small mound of frosting in the center of each cupcake.
- Pipe two straight vertical lines down the middle, then pipe squiggly lines on both sides to look like a brain.
- Drizzle red decorating gel into the creases for a bloody effect. Refrigerate until ready to serve.
Notes
- Use neon green food coloring for a bright zombie effect.
- Cool cupcakes completely before frosting.
- Adjust frosting consistency with milk if too thick.
- Prep Time: 30 minutes
- Cook Time: 20 minutes
- Category: Halloween
- Method: Baking
- Cuisine: American
Nutrition
- Serving Size: 1 cupcake
- Calories: 310 kcal
- Sugar: 35 g
- Sodium: 150 mg
- Fat: 15 g
- Saturated Fat: 8 g
- Unsaturated Fat: 6 g
- Trans Fat: 0 g
- Carbohydrates: 45 g
- Fiber: 1 g
- Protein: 2 g
- Cholesterol: 45 mg
Keywords: Zombie Brain Cupcakes, Halloween cupcakes, spooky dessert, chocolate cupcakes, Halloween recipe


