You know those days when you’re craving homemade ice cream but don’t feel like dragging out the machine? That was me last summer, staring at my empty freezer and dreaming of rich, creamy coffee ice cream with melty chocolate chunks. Then I remembered my aunt’s genius no churn coffee ice cream recipe – the one that skips the fussy equipment and delivers pure magic with just a few simple ingredients. Trust me, this is the dessert revelation you need in your life.
What I love most (besides not washing that bulky ice cream maker) is how intensely coffee-flavored it turns out. The instant espresso powder gives it this deep, almost mocha-like kick that’ll have you sneaking spoonfuls straight from the freezer. And the texture? Unbelievably smooth and creamy – no icy crystals here. It’s become my go-to when friends pop over unexpectedly or when I need a serious pick-me-up after dinner. The best part? You probably have everything you need in your pantry right now.
I’ll never forget the first time I made it – my husband took one bite, raised his eyebrows, and immediately asked when I’d be making another batch. That’s when I knew this no churn coffee ice cream recipe was something special. Now let me show you how to whip up this ridiculously easy dessert that tastes like it came from an artisanal creamery.
Why You’ll Love This No Churn Coffee Ice Cream
This recipe is my secret weapon for instant dessert happiness, and here’s why it’ll become yours too:
- No fancy equipment needed – Forget ice cream makers with all their parts. Just grab a bowl and a whisk (or hand mixer) and you’re halfway there.
- Serious coffee punch – That espresso powder gives it a deep, aromatic flavor that’ll wake up your taste buds better than your morning cup.
- Creamy dreamy texture – The sweetened condensed milk works magic to keep it scoopably soft straight from the freezer.
- Endless ways to customize – Chocolate chunks are just the beginning. Swirl in caramel, add toasted nuts, or spike it with a splash of Kahlúa for grown-up nights.
- Impressively easy – From start to freezer in 10 minutes flat? Yes please. Your future self will thank you when cravings hit.
Ingredients for No Churn Coffee Ice Cream
Gathering these simple ingredients is the first step to coffee ice cream bliss. Here’s exactly what you’ll need:
- 2 ½ tablespoons (15g) instant espresso powder – Not brewed coffee! The powder dissolves perfectly and packs that intense coffee flavor we’re after. My favorite brand is Medaglia D’Oro.
- 2 tablespoons (30mL) warm water – Just hot enough to dissolve the coffee granules completely – no coffee sludge in our ice cream!
- 2 cups (480mL) heavy cream – Cold, straight from the fridge. The higher the fat content, the creamier your ice cream will be.
- 1 14-ounce can (397g) sweetened condensed milk – The secret weapon that gives no-churn ice cream its magical texture.
- 1 teaspoon vanilla extract – Balances the coffee’s bitterness beautifully.
- 4 ounces (113g) semi-sweet chocolate, chopped – I like uneven chunks for surprise melty bits, but chips work too in a pinch.
See? Nothing weird or hard-to-find. Just pantry staples that transform into something extraordinary.
How to Make No Churn Coffee Ice Cream
Alright, let’s dive into making this ridiculously easy coffee ice cream! I promise it’s simpler than you think – just follow these steps and you’ll be scooping heaven in no time.
Step 1: Dissolve the Coffee
First things first – grab that small bowl and mix your instant espresso powder with warm water. And I mean warm, not boiling hot. You want just enough heat to dissolve those coffee granules completely without cooking them. Stir it until it looks like a smooth, dark syrup with no gritty bits left. This little step makes all the difference – lumpy coffee mixture means lumpy ice cream, and nobody wants that!
Step 2: Whip the Cream Mixture
Now for the fun part! In your largest mixing bowl (trust me, you’ll need the space), combine the coffee mixture, cold heavy cream, sweetened condensed milk, and vanilla. If you’re using a hand mixer, start on low speed to avoid splatters, then gradually increase to medium-high. Watch closely – you’re looking for soft peaks that hold their shape when you lift the beaters, like thick whipped cream. This usually takes about 3-4 minutes. Pro tip: If your arm gets tired, take breaks! Overbeating can turn your cream to butter (been there, cried over that).
Step 3: Fold in Chocolate
Time for the chocolatey goodness! Dump in those chopped chocolate pieces and grab your sturdiest spatula. Here’s where you need a gentle touch – fold the chocolate in using big, sweeping motions from the bottom up. You’re trying to keep all that lovely air in the cream mixture while evenly distributing the chocolate. I like to leave some bigger chunks for those amazing melty surprises when you bite into the frozen ice cream.
Step 4: Freeze Properly
Almost there! Scoop your creamy mixture into a freezer-safe container – I’m partial to glass loaf pans with tight-fitting lids. Smooth the top with your spatula, sprinkle on a few extra chocolate pieces if you’re feeling fancy, then seal it up tight. This baby needs a full 8 hours in the freezer to set properly. I know, the wait is torture! But trust me, opening it too early leads to sad, soupy disappointment. Set a timer if you must, then reward your patience with the creamiest homemade coffee ice cream you’ve ever tasted.

Tips for Perfect No Churn Coffee Ice Cream
After making this recipe more times than I can count (no regrets!), I’ve picked up some game-changing tricks:
- Chill your bowl and beaters first – 15 minutes in the freezer makes the cream whip up faster and hold its shape better. Cold is your friend here!
- Scrape the bowl constantly – That sneaky un-whipped cream loves to hide at the bottom. Get in there with a spatula every minute or so for even mixing.
- Use fresh instant coffee – That half-used jar from last year? Toss it. Fresh espresso powder makes all the difference in flavor.
- Press plastic wrap directly on the surface before freezing to prevent ice crystals from forming on top – nobody wants frosty ice cream.
- Taste before freezing – Want stronger coffee flavor? Add another teaspoon of dissolved espresso. Sweeter? A drizzle of honey does wonders.
These little touches take your no churn from good to “when are you making this again?!”
Variations for No Churn Coffee Ice Cream
Once you’ve mastered the basic recipe, the fun really begins! Here are my favorite ways to mix it up:
- Dark chocolate chunks – Swap semi-sweet for 70% cacao to balance the coffee’s richness. The slight bitterness is divine.
- Caramel ribbon – After pouring into the container, drizzle with warmed caramel sauce and swirl gently with a knife.
- Mocha madness – Add 2 tablespoons cocoa powder with the dry ingredients for double chocolate coffee bliss.
- Almond joy – Fold in toasted coconut flakes and chopped almonds for crunch.
- Spiked version – Replace 1 tablespoon water with coffee liqueur or bourbon for an adults-only treat.
The possibilities are endless – make it your own!
Serving and Storing No Churn Coffee Ice Cream
Here’s the trick to perfect scoops every time: let your ice cream sit on the counter for 5 minutes before digging in. That quick thaw softens it just enough to glide your scoop through like butter. I like to run my ice cream scoop under hot water first – total game changer for those picture-perfect rounds.
Store any leftovers (ha!) in an airtight container with plastic wrap pressed right against the surface. It’ll keep its creamy texture for about 2 weeks in the freezer – if it lasts that long! Just between us, mine usually disappears within days. The chocolate chunks stay melty, the coffee flavor deepens, and suddenly you’re “checking” the freezer way more often than necessary.
Nutritional Information for No Churn Coffee Ice Cream
Here’s the scoop on what’s in each serving (because let’s be honest – we’re all eating more than one scoop!). Keep in mind these are estimates – your exact numbers might vary depending on the brands you use. But hey, we’re here for the deliciousness, not the math!
- Per serving (about ½ cup): 292 calories
- 18g fat (11g saturated)
- 28g carbs (25g sugar, 1g fiber)
- 4g protein
Not bad for a dessert that tastes this indulgent! The sweetened condensed milk gives it that rich texture without needing tons of added sugar. And those chocolate chunks? Consider them essential antioxidants – at least that’s what I tell myself.
Common Questions About No Churn Coffee Ice Cream
I get asked about this recipe all the time – here are the answers to the questions that pop up most often:
Can I use brewed coffee instead of instant? Oh honey, don’t do it! Instant espresso powder dissolves completely and gives that intense coffee kick. Regular coffee would make your ice cream watery and weak. If you’re out of instant, finely ground espresso works in a pinch – just strain it through cheesecloth first.
My ice cream turned out icy – what went wrong? Usually means the cream wasn’t whipped enough or the container wasn’t airtight. Next time, beat until thick like pudding (soft peaks!), and press plastic wrap right on the surface before freezing.
Can I make it without chocolate? Absolutely! The coffee flavor shines beautifully on its own. Or swap in toasted nuts, crushed cookies, or even mix in a ribbon of caramel sauce before freezing.
How long does it really need to freeze? The full 8 hours is non-negotiable – I’ve learned this the hard way with soupy disappointment. But good news – it keeps beautifully for weeks, so make it ahead for spontaneous cravings!
Final Thoughts
There you have it – my foolproof recipe for no churn coffee ice cream that never fails to impress. I can’t wait for you to experience that first creamy, coffee-packed bite! Tag me if you make it – I love seeing your creations. Now go grab that whisk and treat yourself to something truly special. You deserve it!
Print
No Churn Coffee Ice Cream
- Total Time: 8 hours 10 minutes
- Yield: 8 servings 1x
- Diet: Vegetarian
Description
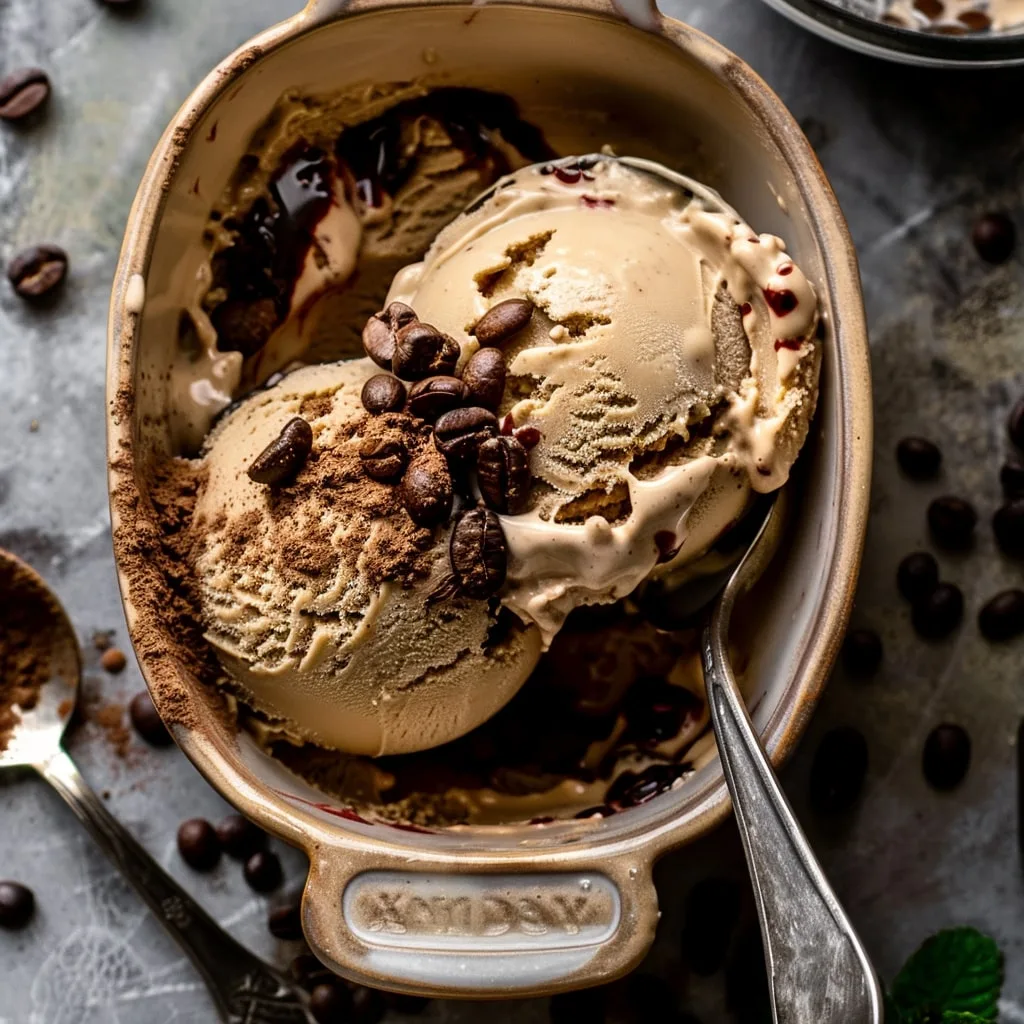
Easy no-churn coffee ice cream recipe with rich coffee flavor and chunks of chocolate.
Ingredients
- 2 ½ tablespoons (15g) instant espresso powder or instant coffee granules
- 2 tablespoons (30mL) warm water
- 2 cups (480mL) heavy cream
- 1 14-ounce can (397g) sweetened condensed milk
- 1 teaspoon vanilla extract
- 4 ounces (113g) semi-sweet chocolate, chopped
Instructions
- Combine instant coffee and warm water in a small bowl, stir until dissolved.
- In a large bowl, beat the coffee mixture, heavy cream, sweetened condensed milk, and vanilla extract until smooth and thick (3-4 minutes).
- Fold in chopped chocolate with a spatula.
- Spoon into a freezer-safe container, garnish with additional chocolate if desired, cover, and freeze for at least 8 hours.
Notes
- Use high-quality instant coffee for best flavor.
- Freeze in an airtight container to prevent ice crystals.
- Let ice cream sit at room temperature for 5 minutes before scooping.
- Prep Time: 10 minutes
- Cook Time: 0 minutes
- Category: Dessert
- Method: No-churn
- Cuisine: International
Nutrition
- Serving Size: 1 serving
- Calories: 292
- Sugar: 25g
- Sodium: 65mg
- Fat: 18g
- Saturated Fat: 11g
- Unsaturated Fat: 5g
- Trans Fat: 0g
- Carbohydrates: 28g
- Fiber: 1g
- Protein: 4g
- Cholesterol: 55mg
Keywords: no churn coffee ice cream, easy ice cream recipe, homemade coffee ice cream


