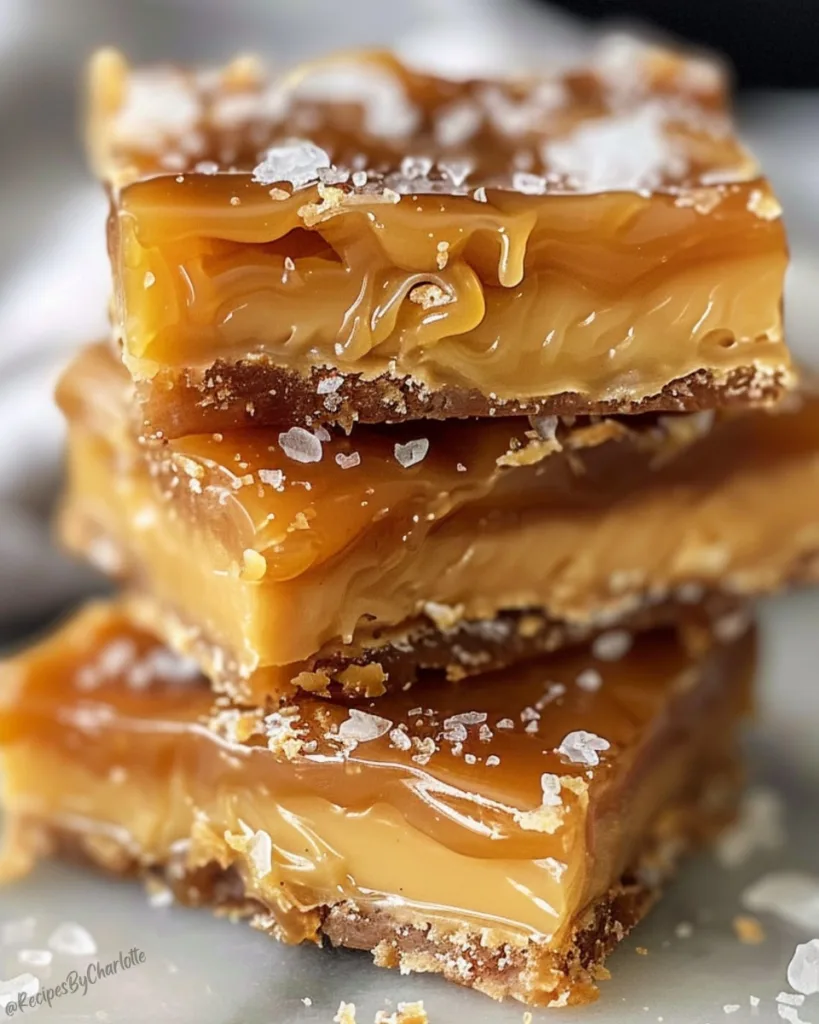
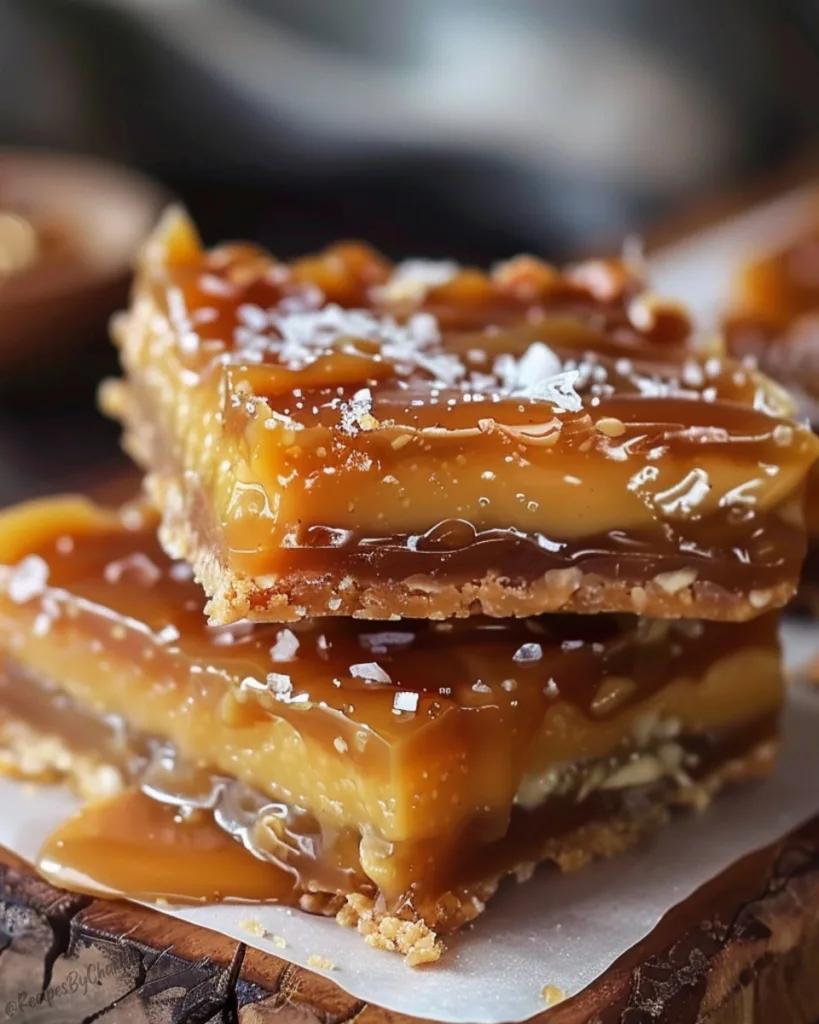
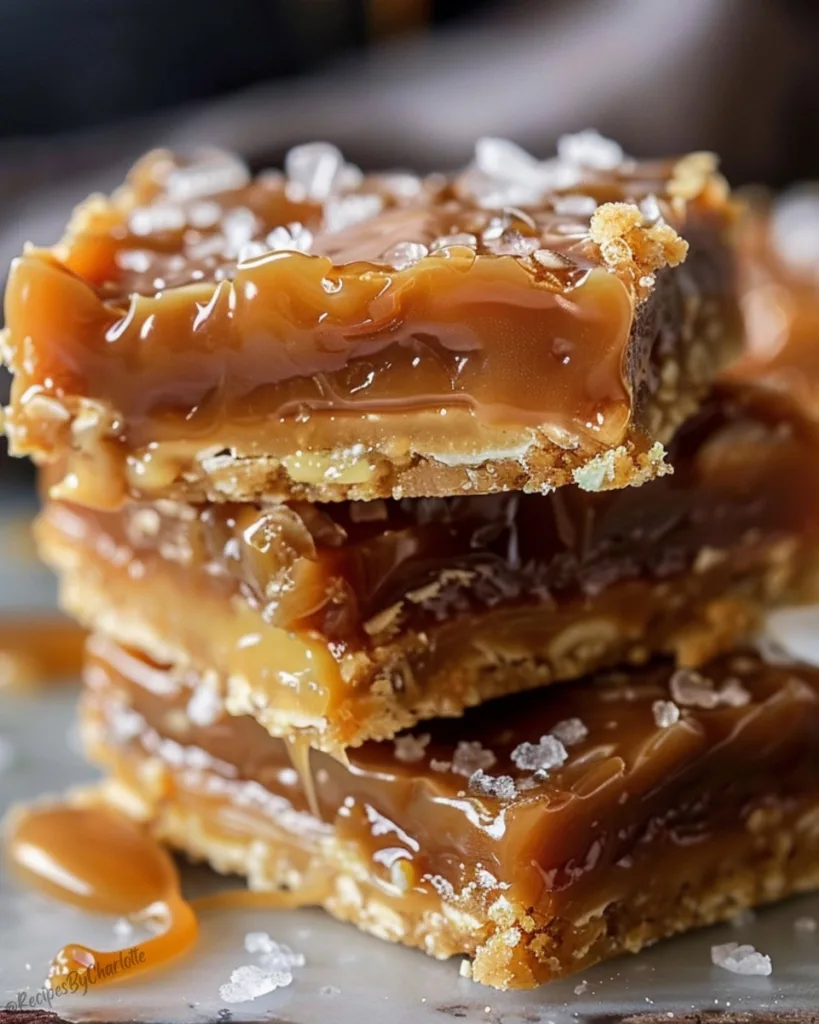
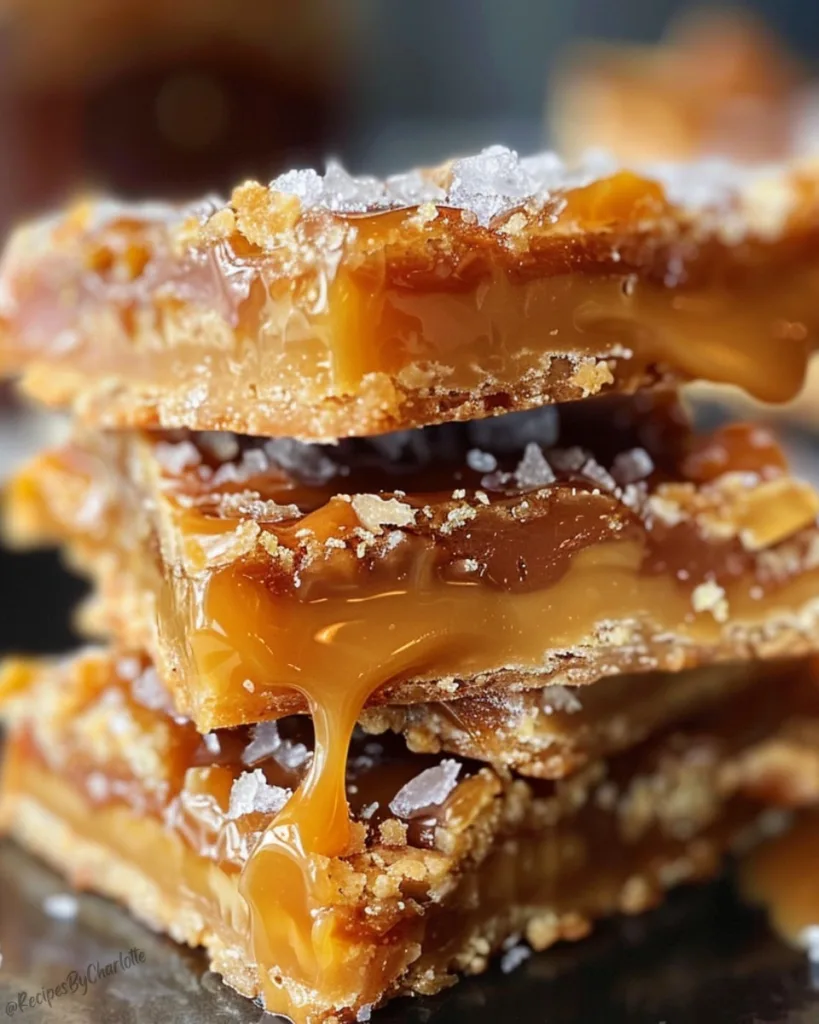
Let me tell you about my ultimate weakness, those buttery, caramel-packed squares of joy we call Caramel Butter Bars. I still remember the first time I tasted a version of these at a friend’s potluck, that perfect bite of crumbly shortbread giving way to sweet-salty caramel. I begged for the recipe right then and there.
After years of tweaking, I’ve perfected my version that balances a melt-in-your-mouth crust with homemade caramel that’s just thick enough to hold its shape without being sticky. The secret? Real butter (lots of it) and taking your time with the caramel. Trust me, once you try these, you’ll understand why my family now expects them at every gathering.
Table of Contents
Why You’ll Love These Caramel Butter Bars
Let me count the ways these bars will steal your heart (and probably your willpower):
- That buttery shortbread crust crumbles just right against the rich caramel, its texture heaven
- The homemade caramel is easier than you think and tastes a million times better than store-bought
- They strike the perfect sweet-salty balance with that flaky sea salt on top
- You probably have most ingredients in your pantry already
- They make your house smell like a bakery dreamland while they bake
Seriously, these disappear faster than I can make them. My kids call them “candy bars with manners” because they feel fancy but are totally approachable.
Ingredients for Caramel Butter Bars
Here’s everything you’ll need to create these heavenly bars. I’ve learned through trial and error that quality ingredients make all the difference here, no skimping on the butter! Pro tip: Set everything out about 30 minutes before you start so ingredients can come to room temperature.
- For the shortbread layers:
- 1 cup unsalted butter, softened (that’s 2 sticks, and yes, it must be real butter)
- 1 cup granulated sugar
- 1½ cups powdered sugar (sifted if yours is lumpy)
- 2 tablespoons pure vanilla extract (the good stuff makes a difference)
- 3 cups all-purpose flour (spooned and leveled, not packed)
- For the caramel filling:
- 1 cup unsalted butter
- 1 cup granulated sugar
- 4 tablespoons light corn syrup (helps prevent crystallization)
- 2 tablespoons vanilla extract
- 1 can (14 oz) sweetened condensed milk (don’t use evaporated milk by mistake!)
- 1 tablespoon flaky sea salt (Maldon is my favorite for this)
See? Mostly pantry staples! The only specialty item is the condensed milk, which you can find in any grocery store’s baking aisle. Now let’s get to the fun part, making magic happen!
Ingredient Substitutions & Notes
Ran out of something? No worries! Here’s how to adapt without sacrificing flavor. If you only have salted butter, just reduce the added salt in the recipe by half. No corn syrup? Try honey or golden syrup instead; they’ll give slightly different flavors but work beautifully. For gluten-free friends, swap the all-purpose flour with your favorite 1:1 gluten-free blend (I’ve had great results with Bob’s Red Mill).
One important note: while you can use store-bought caramel in a pinch, homemade really makes these bars special. The texture and depth of flavor just can’t be matched!
How to Make Caramel Butter Bars
Okay, let’s dive into making these dreamy bars! I’ve broken it down into simple steps so you can follow along easily. Don’t let the caramel scare you. I’ll walk you through every step. Just promise me you won’t rush the process. Good things come to those who wait (and stir patiently).
Preparing the Shortbread Crust
First things first, preheat your oven to 325°F (165°C). Grab that 9×13-inch baking dish and line it with parchment paper, leaving some overhang on the sides. This little trick will save you so much frustration later when removing the bars!
Now, in a large bowl, beat together the softened butter, granulated sugar, and powdered sugar until it’s creamy and smooth. Add that glorious vanilla extract. Can you smell how good this is already? Gradually mix in the flour until a soft dough forms. It should hold together when pressed but not be sticky.
Here’s my secret for the perfect crust: only use about half the dough for the bottom layer. Press it evenly into the pan with your fingers or the bottom of a measuring cup. Bake this for 15-20 minutes until the edges get that perfect light golden color. Let it cool slightly while you make the caramel, but don’t let it cool completely, or the caramel won’t spread as nicely.
Making the Caramel Filling
Time for the star of the show! In a medium saucepan, melt the butter over medium heat. Stir in the sugar, corn syrup, and vanilla. Now comes the important part, constant stirring. I mean it, don’t walk away from this! Stir as it comes to a boil and watch for the color to change to a light golden brown.
Once it’s boiling, reduce the heat to low and add the sweetened condensed milk. Keep stirring! This is where many people mess up; you’ve got to keep that caramel moving for about 5-7 minutes until it thickens beautifully. You’ll know it’s ready when it coats the back of your spoon and has that perfect caramel color. Remove from heat and stir in half the sea salt.
Assembling and Baking the Bars
Pour that luscious caramel over your slightly cooled crust, spreading it evenly with a spatula. Sprinkle the remaining sea salt over the top; this is what makes that magical sweet-salty contrast. Now take the remaining dough and crumble it over the caramel layer. No need to be perfect here, rustic is charming!
Pop it back in the oven for 25-30 minutes until the top is lightly golden. Here’s the hardest part: You MUST let these cool completely before cutting. I know, I know, the smell is intoxicating, but trust me, waiting means cleaner cuts and better texture. Once cooled, use that parchment paper to lift the whole slab out before slicing into squares.
Tips for Perfect Caramel Butter Bars
Let me share my hard-earned secrets for getting these bars just right every time. First up, that parchment paper isn’t optional; it’s your lifeline for getting these beauties out of the pan in one piece. I learned this the hard way after my first batch stuck like glue!
For picture-perfect squares, pop the cooled bars in the fridge for about 30 minutes before cutting. The caramel firms up just enough to give you those clean edges. Use a sharp knife dipped in hot water and wiped clean between cuts.
If your caramel seems too thin after cooking, don’t panic. It thickens as it cools. And if it’s too thick? Just stir in a teaspoon of warm water at a time until it’s pourable. See? No baking disaster can’t be fixed!
Storing and Serving Caramel Butter Bars
Here’s the best way to keep these bars fresh and tasty. I usually store them at room temperature in an airtight container for up to 3 days. If your kitchen runs warm, though, pop them in the fridge; they actually get this amazing fudge-like texture when chilled. Just let them sit out for 10 minutes before serving to take the chill off.
For serving, I love pairing them with strong coffee or a glass of cold milk. They’re rich, so I cut them into smaller squares when serving at parties.
Pro tip: dust with a little extra powdered sugar right before serving for a pretty finishing touch!
Nutritional Information
Now, let’s be real here:
These are indulgent treats, not health food! Each rich, buttery square comes in around 400 calories, with all that deliciousness coming from quality ingredients like real butter and sweet caramel.
Remember, these values are just estimates and can vary depending on your specific brands and measurements. Everything in moderation, right? Even my fitness-obsessed brother can’t resist sneaking just one (or three) when I make these!
FAQs About Caramel Butter Bars
Can I use store-bought caramel instead of making my own?
You can, but homemade caramel makes all the difference in texture and flavor! Store-bought tends to be thinner and sweeter. If you must substitute, look for thick caramel sauce (not syrup) and use about 1½ cups.
How long do these caramel butter bars last?
They’ll stay fresh at room temperature for about 3 days in an airtight container. Honestly though? They never last that long in my house! For longer storage, refrigerate up to a week or freeze for 2 months (thaw at room temperature before serving).
Why did my caramel turn grainy?
This happens when sugar crystals form. The fix? Constant stirring and that corn syrup helps prevent it. If it happens, don’t panic, just keep stirring over low heat until smooth again.
Can I make these bars ahead of time?
Absolutely! They actually taste better the next day as flavors meld. Bake them up to 2 days before serving. Just wait to cut them until you’re ready to serve for the freshest presentation.
Caramel & Butter Desserts to Try
Loved the gooey Caramel Butter Bars? These rich, buttery treats satisfy sweet cravings perfectly.
- Pecan Pie Cake: Layers of pecan pie goodness in cake form.
- Butterfinger Poke Cake: Moist cake soaked with caramel and candy crunch.
- Sugar Cookie Bars: Soft, buttery bars topped with sweet frosting.
- Salted Caramel Apple Cheesecake Bars: Creamy cheesecake with caramel apple perfection.
Bake these indulgent favorites next for holiday trays or cozy dessert nights!
Ready to Bake Some Buttery Bliss?
Now it’s your turn to experience these caramel butter bars for yourself! I’d love to hear how yours turn out. Tag me on Instagram or leave a comment about your baking adventure. Happy baking, friends!
Print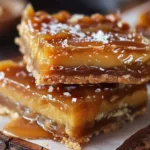
Caramel Butter Bars
- Total Time: 1 hour 10 minutes
- Yield: 24 bars 1x
- Diet: Vegetarian
Description
These Caramel Butter Bars feature a buttery shortbread crust and crumble topping sandwiching a rich, homemade salted caramel filling for irresistible sweet-salty perfection.
Ingredients
- 1 cup unsalted butter, softened
- 1 cup granulated sugar
- 1½ cups powdered sugar
- 2 tablespoons vanilla extract
- 3 cups all-purpose flour
- 1 cup unsalted butter
- 1 cup granulated sugar
- 4 tablespoons light corn syrup
- 2 tablespoons vanilla extract
- 1 can (14 oz) sweetened condensed milk
- 1 tablespoon flaky sea salt
Instructions
- Preheat your oven to 325°F (165°C). Grease a 9×13-inch baking dish and line with parchment paper, leaving an overhang for easy removal.
- In a large bowl, beat 1 cup softened butter, 1 cup granulated sugar, and 1½ cups powdered sugar together until creamy and smooth. Add 2 tablespoons vanilla extract and mix until combined. Gradually add 3 cups all-purpose flour, mixing until a soft dough forms.
- Press half of the dough evenly into the bottom of the prepared baking dish. Bake for 15-20 minutes, or until the edges are lightly golden. Let it cool slightly.
- In a medium saucepan, melt 1 cup butter over medium heat. Stir in 1 cup granulated sugar, 4 tablespoons light corn syrup, and 2 tablespoons vanilla extract. Cook, stirring constantly, until the mixture begins to boil.
- Reduce the heat to low and add 1 can sweetened condensed milk. Continue to cook, stirring constantly, for about 5-7 minutes until the mixture thickens and turns a golden caramel color.
- Pour the caramel filling evenly over the baked crust. Sprinkle 1 tablespoon flaky sea salt over the caramel.
- Crumble the remaining dough over the caramel layer, pressing lightly to adhere.
- Return the pan to the oven and bake for an additional 25-30 minutes, or until the top is lightly golden.
- Allow the bars to cool completely in the pan on a wire rack. Once cooled, lift the bars out of the pan using the parchment paper overhang. Cut into squares and enjoy!
Notes
- Store leftovers in an airtight container at room temperature for up to 3 days.
- For a firmer texture, refrigerate the bars before cutting.
- Prep Time: 20 minutes
- Cook Time: 45-50 minutes
- Category: Dessert
- Method: Baking
- Cuisine: American
Nutrition
- Serving Size: 1 bar
- Calories: 400 kcal
- Sugar: 30 g
- Sodium: 150 mg
- Fat: 20 g
- Saturated Fat: 12 g
- Unsaturated Fat: 6 g
- Trans Fat: 0 g
- Carbohydrates: 50 g
- Fiber: 1 g
- Protein: 3 g
- Cholesterol: 50 mg
Keywords: caramel butter bars, dessert recipe, homemade caramel bars


