There’s nothing like homemade blackberry ice cream on a hot summer day—those sweet-tart berries swirled into creamy, dreamy perfection. I still remember the first time I made this recipe years ago, back when my neighbor brought over a huge basket of fresh-picked blackberries. After testing dozens of variations (some too icy, others too sweet), I finally landed on this perfect balance of rich creaminess and bright fruit flavor.
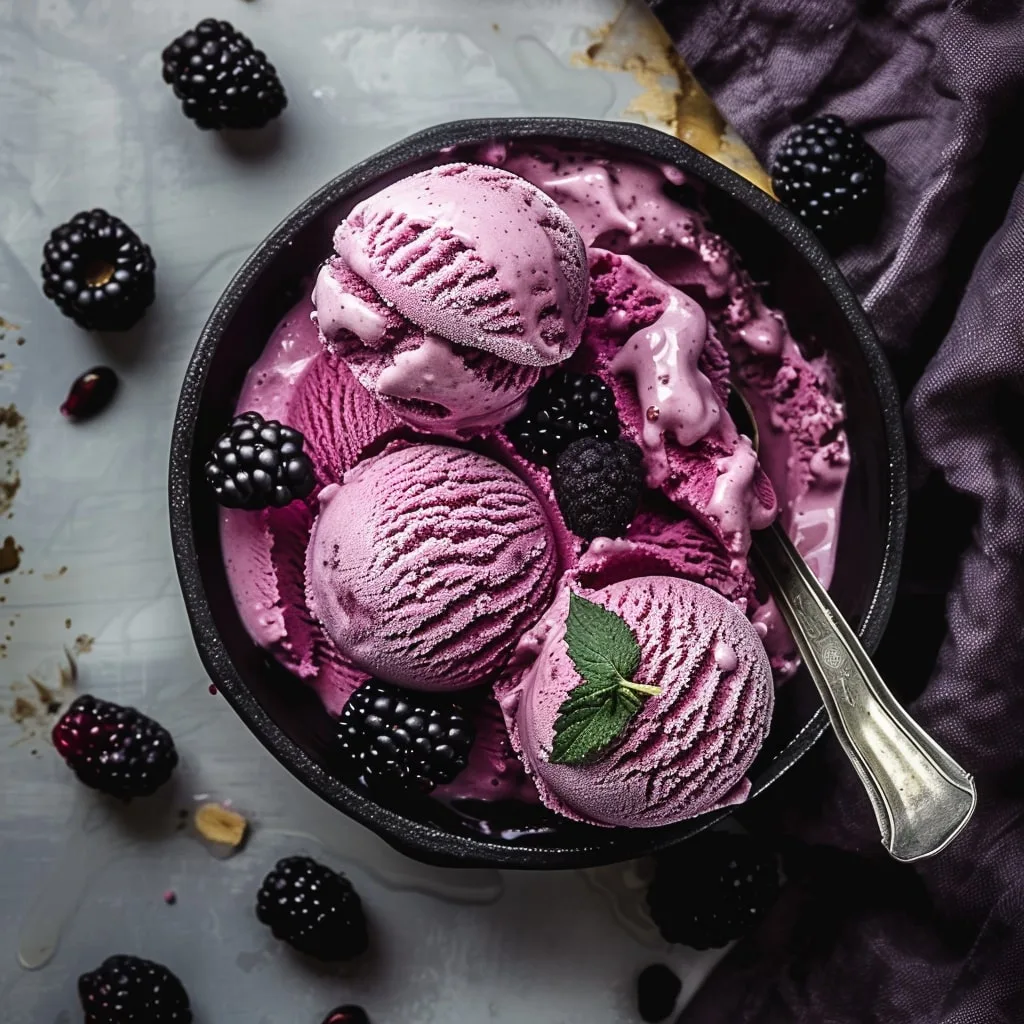
What makes this recipe special? It’s all about letting those gorgeous blackberries shine. Unlike store-bought versions packed with artificial flavors, here you’ll taste real fruit in every bite—from the smooth ice cream base to that gorgeous purple syrup ripple. The texture? So velvety it practically melts on your tongue. Trust me, once you try homemade, you’ll never go back to the freezer aisle again.
After making this for nearly a decade (and winning over every potluck crowd and family reunion), I can promise this: follow these simple steps, and you’ll have the creamiest, most flavorful blackberry ice cream that’ll have everyone begging for seconds.
Why You’ll Love This Blackberry Ice Cream
One spoonful of this blackberry ice cream, and I promise you’ll be hooked. Here’s why it’s become my go-to summer dessert:
- That perfect sweet-tart punch – Fresh blackberries give it a natural brightness that store-bought versions just can’t match
- Dreamy, scoopable texture – The cream-to-milk ratio creates the smoothest ice cream that’s never icy or grainy
- Two ways to enjoy the berries – Puréed right into the base plus that gorgeous syrup swirl means double the blackberry flavor
- No fancy ingredients needed – Just simple pantry staples and fresh berries (I’ve even used frozen in a pinch!)
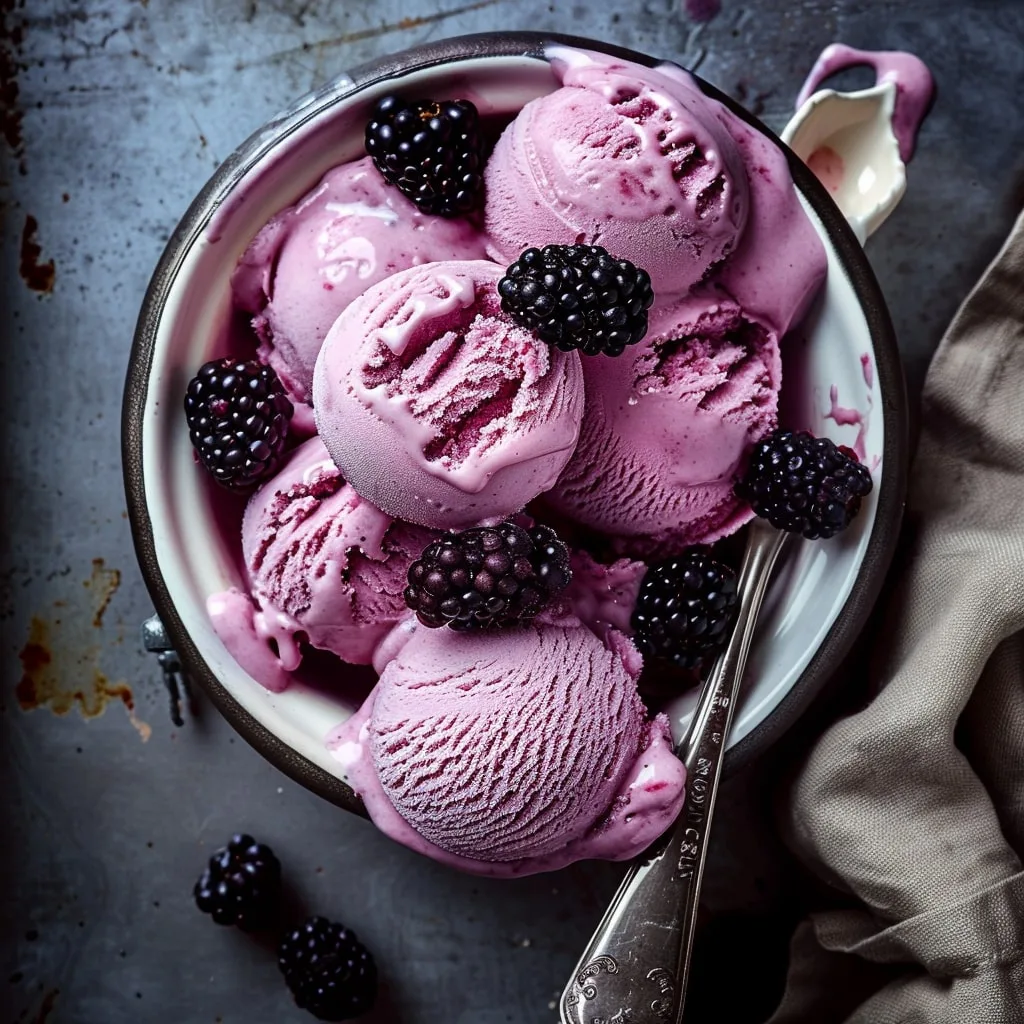
- Looks as good as it tastes – Those deep purple swirls make it the prettiest dessert at any gathering
Seriously, this recipe turns basic ingredients into something magical. My kids call it “purple happiness in a bowl” – and I think they’re absolutely right.
Blackberry Ice Cream Ingredients
Gathering your ingredients is the first step to ice cream magic! Here’s exactly what you’ll need – I’ve learned through trial and error that these measurements create the perfect balance:
- For the blackberry syrup:
- 5 ounces (142g) fresh blackberries (about 1 heaping cup)
- ¼ cup (50g) granulated sugar
- 1 teaspoon cornstarch (this thickens the syrup just right)
- For the ice cream base:
- 8 ounces (227g) fresh blackberries (about 2 cups)
- ¾ cup (150g) granulated sugar
- 2 cups (480mL) heavy cream (cold, for maximum fluffiness)
- 1 cup (240mL) whole milk (none of that skim stuff – we need the fat!)
- 2 teaspoons vanilla extract (the good stuff makes a difference)
- ⅛ teaspoon salt (trust me, it makes the flavors pop)
A quick tip from my messy experiences: have your strainer ready for the syrup step. Those tiny seeds love to hide everywhere! And don’t worry if your blackberries vary slightly in size – I’ve made this with everything from giant juicy ones to smaller tart berries, and it always turns out delicious.
Equipment You’ll Need
You probably have most of this in your kitchen already! Here’s what I always grab when making this blackberry ice cream:
- Ice cream maker (that bowl needs to be frozen solid overnight!)
- Medium saucepan (for that gorgeous syrup)
- Blender or food processor (to purée those juicy berries)
- Fine mesh strainer (to catch all those pesky seeds)
- 2-quart storage container (I swear by glass for easy scooping)
That’s it! No fancy gadgets needed – just good old-fashioned tools that help create magic.
How to Make Blackberry Ice Cream
Alright, let’s dive into the fun part! I’ll walk you through each step just like I would if we were making this together in my kitchen. Don’t let the multiple steps fool you – it’s actually super simple once you get going.
Step 1: Prepare the Blackberry Syrup
First, we’ll make that gorgeous purple syrup that gives our ice cream its signature swirl. Grab your saucepan and toss in 5 ounces of blackberries, ¼ cup sugar, and that teaspoon of cornstarch. Heat it over medium-low – you want it bubbling gently, not violently – for about 5 minutes until the berries break down and the mixture thickens slightly.
Here’s my secret: I like to mash the berries with a wooden spoon as they cook to really release all that juice. Once it’s thickened (it should coat the back of a spoon), pour it through a fine mesh strainer into a bowl, pressing gently to get all that liquid gold out while leaving the seeds behind. Pop this in the fridge to cool completely – trust me, you don’t want warm syrup melting your ice cream later!
Step 2: Make the Ice Cream Base
Now for the creamy part! In a large bowl, combine the remaining 8 ounces of blackberries with ¾ cup sugar. Let them sit for about 15 minutes – this maceration draws out the juices and makes blending easier. I usually give them a gentle stir halfway through.
After they’ve gotten nice and juicy, blend them until smooth (a blender works best, but I’ve used a food processor in a pinch). Then strain it again to remove seeds – yes, more straining, but it’s worth it for that velvety texture! Whisk this beautiful purple purée together with the heavy cream, milk, vanilla, and salt. Cover and chill this mixture for at least 2 hours (overnight is even better). Patience pays off here – cold base means creamier ice cream!
Step 3: Churn and Layer
Time for the magic! Pour your chilled mixture into your ice cream maker and churn according to the manufacturer’s instructions – usually about 20-25 minutes. You’ll know it’s ready when it looks like soft-serve consistency.
Now for the artistic part: spoon about a third of the ice cream into your storage container, drizzle with some of that cooled syrup, and repeat layers, ending with ice cream. Take a butter knife and gently swirl – don’t overmix! You want pretty purple ribbons throughout. Freeze for at least 4 hours (I know, more waiting!) until firm. The hardest part is resisting the urge to eat it straight from the churn – but this final freeze gives it that perfect scoopable texture.
Tips for Perfect Blackberry Ice Cream
After making countless batches (and enjoying every “test scoop”), I’ve picked up some foolproof tricks for blackberry ice cream perfection:
- Chill everything cold – I mean it! That cream mixture needs at least 2 hours in the fridge (overnight is better) – cold base = creamier texture
- Strain twice, thank me later – Those tiny seeds sneak everywhere if you skip the fine mesh strainer
- Freeze that ice cream bowl solid – If your maker has a freezer bowl, give it a full 24 hours – no cheating!
- Swirl don’t stir – Just a few gentle knife passes for those gorgeous purple ribbons
- Taste your berries first – If they’re super tart, add an extra tablespoon of sugar to the base
My biggest lesson? Don’t rush the process – good things come to those who wait (and properly chill their ingredients)!
Blackberry Ice Cream Variations
Once you’ve mastered the basic recipe, try these fun twists! Swap blackberries for raspberries or mixed berries – the syrup turns the most gorgeous magenta. For a citrusy kick, add a teaspoon of lemon zest to the base. Chocolate lovers can stir in mini chips during the last few minutes of churning. Feeling fancy? A splash of Chambord in the syrup makes it extra special for grown-up gatherings. The possibilities are endless!
Serving and Storing Blackberry Ice Cream
Here’s how I keep my blackberry ice cream tasting its absolute best! When serving, let it sit at room temperature for about 5 minutes – just until your scoop glides through easily. That perfect creamy texture makes all the difference.
For storage, I always use an airtight container with parchment pressed directly on the surface – this prevents those annoying ice crystals. It keeps beautifully for about 2 weeks in the freezer (if it lasts that long in your house!). Pro tip: Write the date on the lid in marker – not that you’ll forget about this deliciousness, but just in case!
Blackberry Ice Cream FAQs
Over the years, I’ve gotten so many questions about this recipe – here are the ones that come up most often!
Can I use frozen blackberries instead of fresh?
Absolutely! Just thaw them first and drain any excess liquid. Frozen berries work great when fresh aren’t in season – I actually keep a bag in my freezer for emergency ice cream cravings.
What if I don’t have an ice cream maker?
No worries! Pour your chilled mixture into a shallow pan and freeze for 1 hour. Then whisk vigorously to break up ice crystals, repeating every 30 minutes until firm. It’s more work, but still delicious!
Why does my ice cream get icy?
Usually this means either your base wasn’t cold enough before churning, or you didn’t freeze it long enough after. Also – don’t skip the cornstarch in the syrup! It helps prevent iciness.
Can I make this dairy-free?
I’ve had success using full-fat coconut milk instead of cream/milk. The texture changes slightly, but you still get that amazing blackberry flavor!
How long will it keep in the freezer?
About 2 weeks at peak freshness – though in my house it never lasts more than 2 days!
Nutritional Information
Here’s the scoop on nutrition – these values are estimates per serving based on standard ingredients. Actual amounts may vary depending on your specific berries and brands used. One serving (about ½ cup) contains roughly:
- 314 calories
- 18g fat (11g saturated)
- 35g carbs (2g fiber, 28g sugar)
- 3g protein
Remember – homemade means you control exactly what goes in, unlike store-bought versions packed with additives. Everything in moderation, right? Now go enjoy that creamy goodness!
Share Your Blackberry Ice Cream Experience
I’d love to hear how your blackberry ice cream adventure turns out! Did you add any fun twists? Maybe your family fought over the last scoop like mine always does? Drop a comment below with your results – and don’t forget to rate the recipe if you loved it as much as we do!
Print
Creamy Blackberry Ice Cream
- Total Time: 5 hours 15 minutes
- Yield: 8 servings 1x
- Diet: Vegetarian
Description
A creamy, fruity homemade blackberry ice cream with a swirl of blackberry syrup for extra flavor.
Ingredients
- 5 ounces (142g) fresh blackberries
- ¼ cup (50g) granulated sugar
- 1 teaspoon cornstarch
- 8 ounces (227g) fresh blackberries
- ¾ cup (150g) granulated sugar
- 2 cups (480mL) heavy cream
- 1 cup (240mL) whole milk
- 2 teaspoons vanilla extract
- ⅛ teaspoon salt
Instructions
- Make the blackberry syrup: Cook blackberries, sugar, and cornstarch over medium-low heat until thickened. Strain and refrigerate.
- Make the blackberry ice cream base: Mix blackberries and sugar, let sit for 15 minutes. Blend and strain.
- Combine with cream, milk, vanilla, and salt.
- Churn in an ice cream maker.
- Layer ice cream and syrup in a pan, swirl with a knife.
- Freeze for at least 4 hours.
Notes
- Use fresh blackberries for the best flavor.
- Strain the syrup to remove seeds.
- Chill the mixture thoroughly before churning.
- Prep Time: 1 hour 15 minutes
- Cook Time: 0 minutes
- Category: Dessert
- Method: Churned
- Cuisine: American
Nutrition
- Serving Size: 1 serving
- Calories: 314
- Sugar: 28g
- Sodium: 50mg
- Fat: 18g
- Saturated Fat: 11g
- Unsaturated Fat: 5g
- Trans Fat: 0g
- Carbohydrates: 35g
- Fiber: 2g
- Protein: 3g
- Cholesterol: 65mg
Keywords: blackberry ice cream, homemade ice cream, fruit ice cream, dessert recipe


