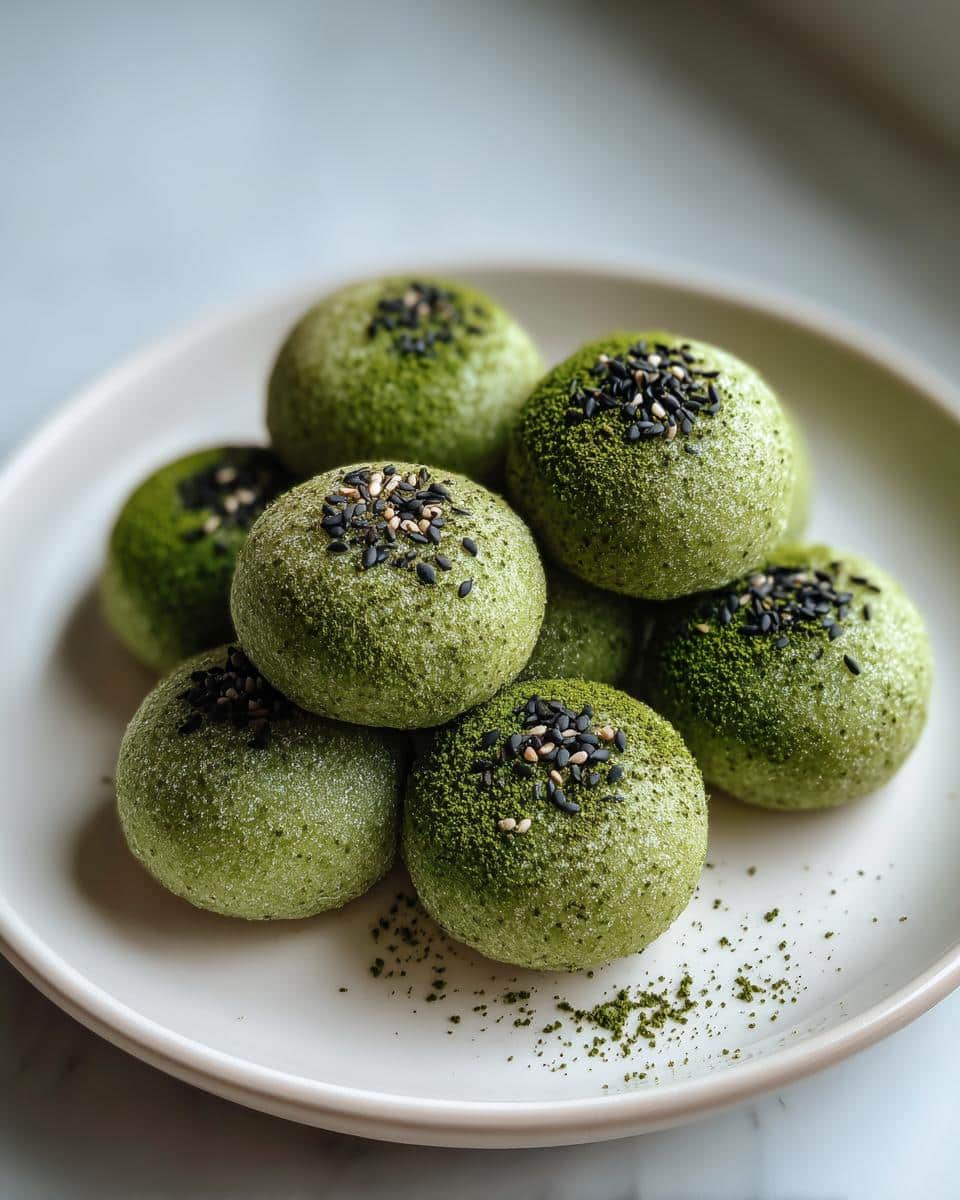
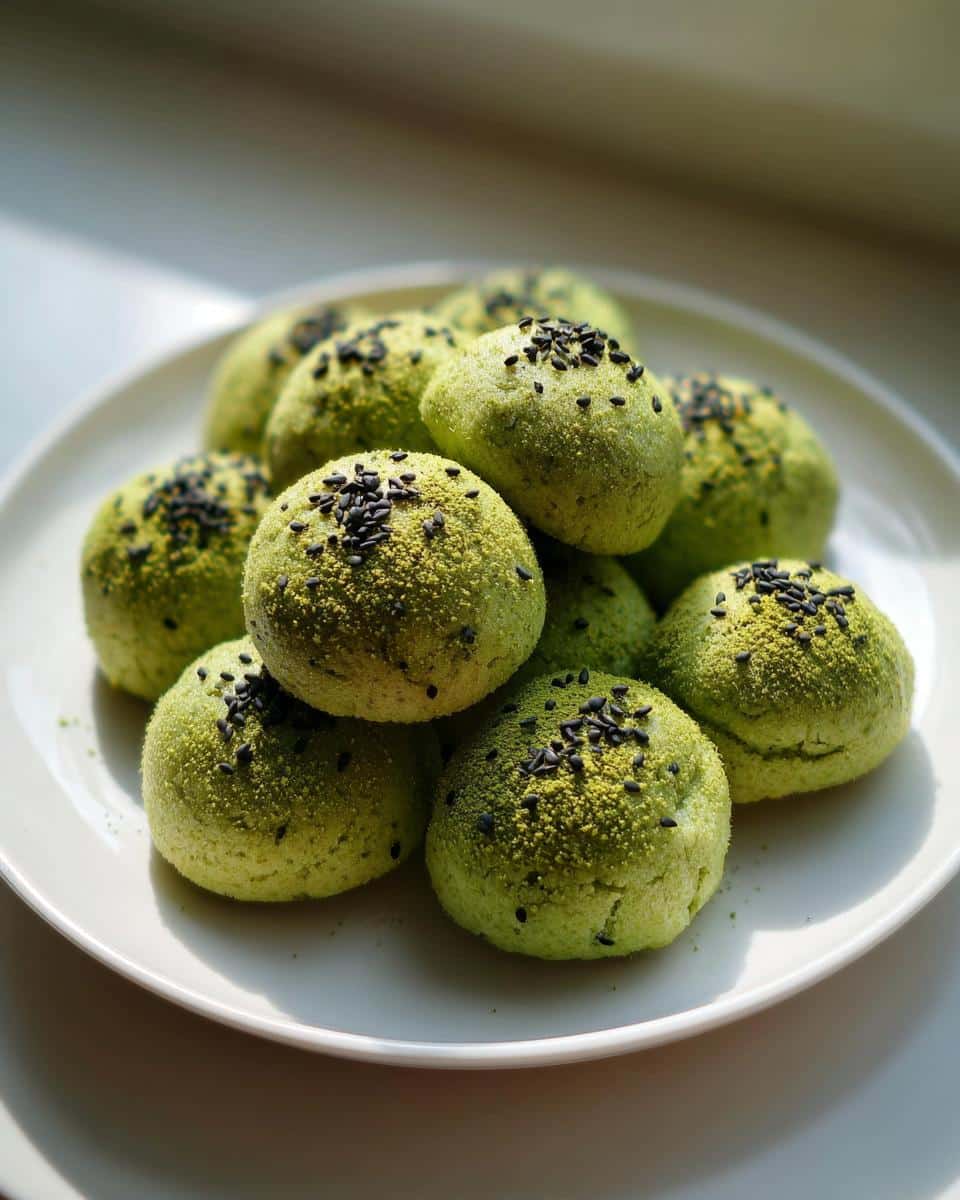
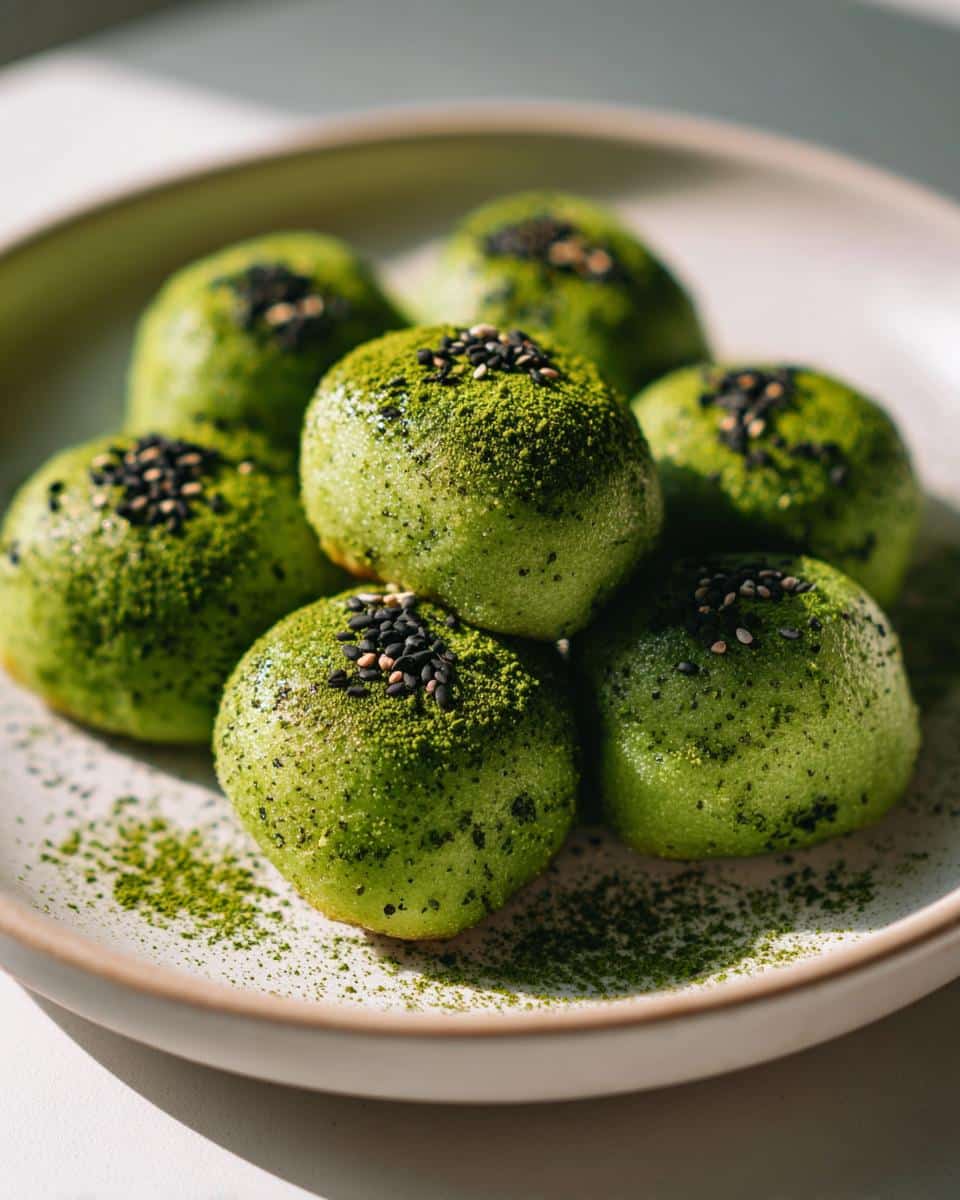
I’ll never forget the first time I bit into Korean Matcha Mochi Bread at a tiny bakery in Seoul that crisp shell giving way to an almost magically chewy center, with the earthy sweetness of matcha dancing on my tongue. I was hooked instantly! Back home, I spent weeks tweaking recipes to recreate that perfect texture. What makes this treat so special? That mochi-like chewiness (thanks to tapioca flour) paired with the subtle bitterness of matcha. Best part? It’s naturally gluten-free and comes together in just 30 minutes. Trust me, once you try these little green gems, you’ll be piping batches weekly!
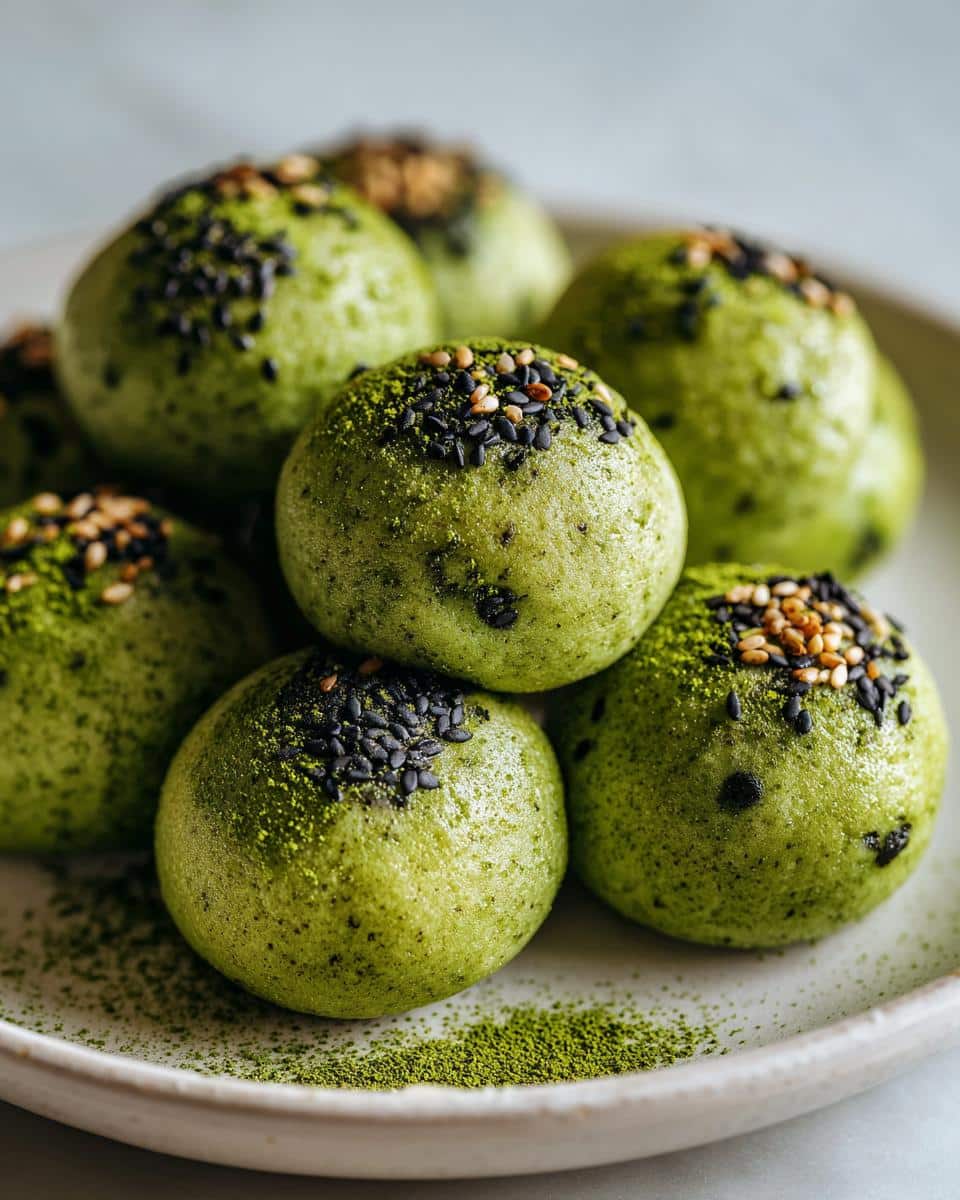
Table of Contents
Why You’ll Love This Korean Matcha Mochi Bread
Oh my gosh, where do I even start? This bread is seriously life-changing. First off, it’s naturally gluten-free thanks to that magical tapioca flour no weird substitutes needed. The batter comes together in one pan (hello, easy cleanup!), and that unique mochi-chewy texture with the crisp crust? Absolute perfection. I’m obsessed with how the matcha gives it this earthy sweetness that isn’t overpowering. It’s the ultimate quick snack with tea or a fun little dessert that’ll impress everyone. Plus and this is key you can make the whole batch before your oven even finishes preheating!
Try this alongside my soft matcha muffins for a bakery-style breakfast.
Korean Matcha Mochi Bread Ingredients
Okay, let’s gather our goodies! The magic of this recipe comes from just a handful of simple ingredients but precision matters here. You’ll need:
- 65 ml whole milk (trust me, the fat content makes a difference)
- 15 g unsalted butter (cold or room temp both work)
- 15 g bread flour (yes, even though it’s gluten-free, this tiny amount helps the texture)
- 70 g tapioca flour (this is what gives that amazing chew!)
- 20 g granulated cane sugar (adjust to taste if you like it less sweet)
- Splash of vanilla extract (about 1/4 tsp it balances the matcha beautifully)
- 3 g matcha powder (use ceremonial grade if you can the color and flavor pop!)
- Pinch of salt (just a tiny pinch to enhance all the flavors)
- 1 egg, beaten (lightly whisked you might not use it all)
- 1 tablespoon black sesame seeds (optional, but they add such a nice crunch)
Quick tip: When piping, aim for 1-inch rounds they puff up just right in the oven. Too big and they won’t get that perfect crisp-chewy balance!
Equipment You’ll Need for Korean Matcha Mochi Bread
Don’t worry you probably have everything already! Grab a small saucepan (I use my 1-quart one) and a trusty wooden spoon for stirring that dough into submission. You’ll need a piping bag (no tip necessary just snip the end!) or a sturdy plastic bag works in a pinch. Line your baking sheet with parchment paper no fancy silicone mats needed here. That’s it! See? Told you this was easy.
How to Make Korean Matcha Mochi Bread
Alright, let’s get our hands dirty or at least our wooden spoon! This process is easier than you think, but there are a few key moments where you’ll want to pay close attention. Follow these steps, and you’ll have that perfect chewy-crisp texture every time.
Preparing the Dough Base
First things first grab that small saucepan and combine the milk and butter over medium heat. Watch it closely! We’re aiming for tiny bubbles around the edges (just before a full boil), then immediately dump in all the bread flour at once. Here’s where the magic starts: stir like your life depends on it with that wooden spoon for a solid 1-2 minutes. You’ll see the mixture transform from lumpy to smooth and pulling away from the pan. This step cooks the flour and creates that stretchy base we need. Don’t be tempted to walk away constant stirring prevents lumps!
Mixing Dry Ingredients
Take the pan off heat and add all your dry ingredients tapioca flour, sugar, matcha powder, and that pinch of salt. The vanilla extract goes in now too. At first, it’ll look hopelessly dry, but keep stirring! Within about 30 seconds, you’ll see it turn into this glorious green gelatinous paste that’s oddly satisfying to poke. A word of caution: don’t overmix once it comes together, or the texture can get tough. Just stir until no dry spots remain, then let it cool for 5 minutes hot dough will cook your egg!
Adding Egg to Achieve Perfect Consistency
This is the make-or-break step! Beat your egg lightly in a separate bowl, then start adding it to the dough one tablespoon at a time, stirring fully after each addition. After about half the egg, you’ll notice the dough loosening up. Here’s the test: scoop some up with your spatula it should flow down in a thick “V” shape (think slow-moving lava). If it plops off in one blob, add another tablespoon. Stop immediately when you reach that lava consistency I’ve ruined batches by adding “just one more teaspoon”!
Baking Korean Matcha Mochi Bread
Preheat your oven to 375°F (191°C) while piping 1-inch rounds onto your lined baking sheet. They’ll look small, but trust me they’ll triple in size! Bake for exactly 5 minutes at this higher temp to set the shape, then without opening the door, reduce heat to 350°F (177°C) and bake 15-16 more minutes. They’re done when the tops look dry and just barely golden at the edges. Don’t wait for full browning they’ll continue cooking slightly as they cool. That crisp shell with the chewy center? Pure bliss!
Expert Tips for Perfect Korean Matcha Mochi Bread
After piping dozens of batches (and eating every single “test” piece), I’ve nailed down the secrets to mochi bread perfection! Room-temperature eggs incorporate way better than cold just leave yours out for 30 minutes before baking. When piping, hold your bag straight up about 1 inch above the pan this gives you those perfect round shapes. And here’s my golden rule: eat them fresh the same day for maximum crisp-chewy magic! If you must store them, an airtight container keeps them decent for 2 days (but they’ll lose some crispness just pop ’em in a toaster oven for a quick revive).
Craving more mochi? Check out my chewy matcha mochi bites.
Korean Matcha Mochi Bread Variations
Who says you have to stick to the classic version? I love playing with flavors sometimes I swap the black sesame seeds for toasted coconut flakes for a tropical twist. Feeling indulgent? Toss in a handful of white chocolate chips before piping they melt into gooey pockets of sweetness that pair amazingly with the matcha. For a cozy spice kick, add 1/4 tsp cinnamon to the dry ingredients. And if you’re vanilla-obsessed like me, doubling the extract makes these smell like a bakery dream! The base recipe is so versatile once you master it, the flavor combos are endless.
Serving and Storing Korean Matcha Mochi Bread
Oh, the best part eating these little beauties! Let them cool just enough so you don’t burn your fingers, but serve them warm for that irresistible crisp-chewy contrast. My absolute favorite pairing? A frothy matcha latte double the green goodness! They’re also dreamy with iced coffee or jasmine tea. Now, if by some miracle you have leftovers (rare in my house!), tuck them into an airtight container at room temp. They’ll stay decent for 2 days, though nothing beats that first-hour freshness. Pro tip: A quick 5-minute toast revives the crispness beautifully!
Korean Matcha Mochi Bread Nutrition
Let’s be real we’re not eating mochi bread for health food, but hey, it’s nice to know what’s in these little green wonders! The nutrition below is per piece (and let’s be honest, you’ll eat at least three). These are estimates since actual amounts vary based on exact egg usage and how generously you pipe those rounds!
- Serving Size: 1 piece
- Calories: 70
- Sugar: 3 g
- Sodium: 20 mg
- Fat: 2 g
- Saturated Fat: 1 g
- Carbs: 10 g
- Fiber: 0.5 g
- Protein: 1 g
Not bad for something that tastes like a dessert, right? The matcha actually gives you a little antioxidant boost too that’s my excuse for second helpings!
Frequently Asked Questions
Is Korean Matcha Mochi Bread really gluten-free?
Yes! The magic comes from tapioca flour, which is naturally gluten-free. That tiny bit of bread flour? It’s such a small amount (just 15g for the whole batch!) that it doesn’t affect the gluten-free status. For strict gluten-free needs, you can even swap it with rice flour I’ve tested it, and it works beautifully!
What can I use instead of egg if I’m allergic?
I’ve had success with a flax egg (1 tbsp ground flax + 3 tbsp water, let sit 5 mins) or even applesauce in a pinch. The texture will be slightly less chewy but still delicious. Start with half the amount and add slowly you want that same “lava” consistency I mentioned earlier. Just don’t skip the binding agent completely, or your mochi bread will crumble!
Help! My dough turned out runny can I fix it?
Don’t panic! This happens when we get overenthusiastic with the egg. Scoop your dough back into the saucepan and cook over low heat while stirring constantly. The extra cooking will evaporate some moisture. If it’s still too thin, add 1 tsp tapioca flour at a time until it thickens. Next time, remember my mantra: “When in doubt, leave some egg out!”
Korean Matcha Mochi Bread
- Total Time: 30 minutes
- Yield: 12 pieces 1x
- Diet: Gluten Free
Description
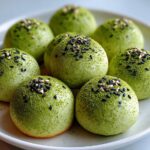
Korean Matcha Mochi Bread is a sweet, chewy treat with a crisp exterior similar to Brazilian cheese bread but with a unique matcha twist. This easy recipe creates bite-sized, gluten-free delights perfect for breakfast, snacks, or dessert.
Ingredients
- 65 ml whole milk
- 15 g unsalted butter
- 15 g bread flour
- 70 g tapioca flour
- 20 g granulated cane sugar
- Splash of vanilla extract
- 3 g matcha powder
- Pinch of salt
- 1 egg, beaten (you may not use the whole egg)
- 1 tablespoon black sesame seeds (optional, for garnish)
Instructions
- Make the Dough Base: In a small saucepan, combine milk and butter. Heat over medium until just simmering. Add bread flour all at once. Remove from heat and stir vigorously with a wooden spoon for 1–2 minutes.
- Add Dry Ingredients: Stir in tapioca flour, sugar, vanilla, matcha powder, and salt. Mix until a thick, gelatinous paste forms.
- Incorporate the Egg: Let the mixture cool slightly. Gradually add the beaten egg, a little at a time, stirring well after each addition. Continue adding egg until the dough is smooth and has a lava-like consistency (it should drop from a spatula in a “V” shape). Do not add too much egg the dough should be thick enough to hold its shape when piped.
- Add Sesame Seeds (Optional): Mix in black sesame seeds if using.
- Pipe and Bake: Transfer the dough to a piping bag (no tip needed). Cut off the tip. Pipe 1-inch rounds onto a parchment-lined baking sheet, spacing them apart. Dip your finger in water and gently press down any pointy tops. Sprinkle with extra black sesame seeds if desired.
- Bake: Bake at 375°F (191°C) for 5 minutes. Reduce oven temperature to 350°F (177°C) and bake for another 15–16 minutes, until just barely golden.
- Cool and Serve: Remove from oven and let cool before enjoying.
Notes
- Add egg slowly to avoid runny dough.
- For extra flavor, try adding a pinch of cinnamon or a bit more vanilla.
- Enjoy fresh for the best texture crispy outside, chewy inside.
- Prep Time: 10 minutes
- Cook Time: 20 minutes
- Category: Bread
- Method: Baking
- Cuisine: Korean
Nutrition
- Serving Size: 1 piece
- Calories: 70
- Sugar: 3 g
- Sodium: 20 mg
- Fat: 2 g
- Saturated Fat: 1 g
- Unsaturated Fat: 0.5 g
- Trans Fat: 0 g
- Carbohydrates: 10 g
- Fiber: 0.5 g
- Protein: 1 g
- Cholesterol: 15 mg
Keywords: Korean Matcha Mochi Bread, gluten-free, matcha, mochi bread, snack, dessert


